Cross-Stitch Pattern PDF Best Practices for Designers
What separates an amateur cross-stitch pattern PDF from a professional one — chart layout, symbols, legends, print-proofing, and the export-import-edit-track lifecycle.
A buyer never sees your design process. They see the PDF. That file is your product, your brand, and your customer-service load all at once — and the gap between a PDF that earns five-star reviews and one that triggers "I can't read the symbols" refund requests is almost entirely down to a handful of decisions most new designers don't know to make.
This is the guide to those decisions. Not vague "make it look nice" advice — the specific things a professional cross-stitch pattern PDF includes, the print mistakes that quietly cost you sales, and a workflow shift that most designers miss entirely: a pattern PDF doesn't have to be a dead-end file. With the right tool it's something you can export, re-import, edit, and track — a living document, not a flat printout. If you produce patterns to sell, you can try StitchThis free and build the rest of this guide into your process.
What a professional pattern PDF actually contains
 Amateur PDFs are usually just a chart. Professional ones are a small, complete document. Here's the full anatomy — treat it as a checklist for every pattern you ship.
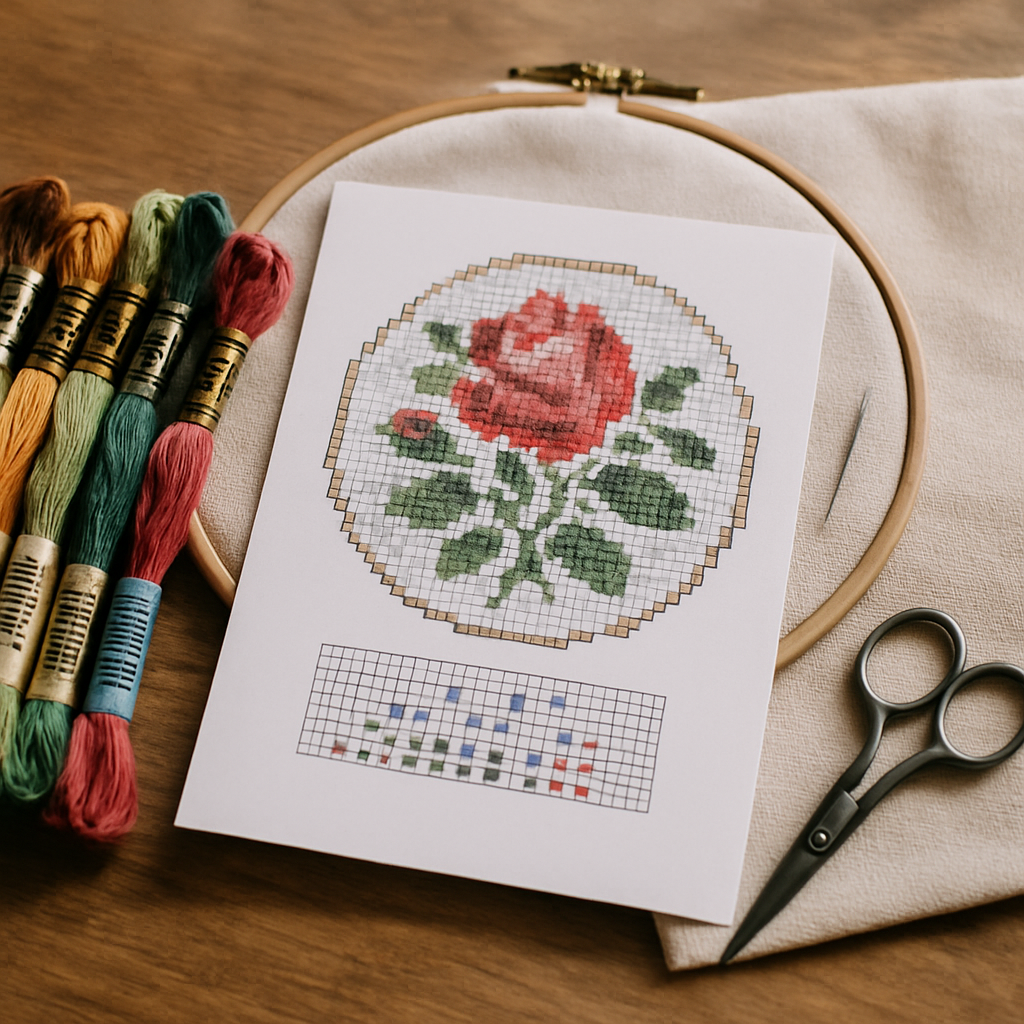
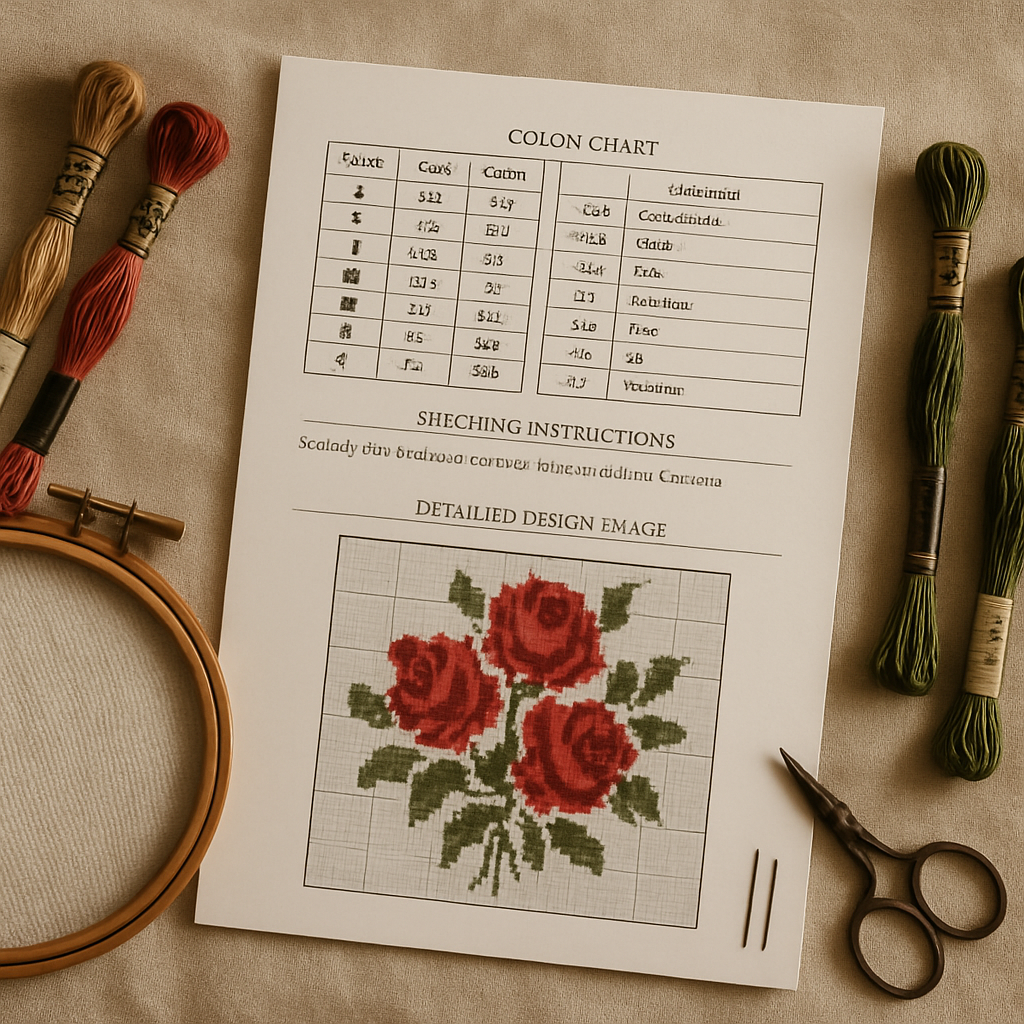
- A cover / title page. Design name, your shop name, a finished-image preview, and the key specs up front: stitch count (W × H), finished size on a stated fabric count, number of colors, and stitch types used.
- A materials list. Fabric size and count, recommended needle, and the full floss list — symbol, color number, brand, and an estimated skein count. (Buyers shop before they stitch; make it easy.)
- A complete legend / key. Every symbol mapped to its floss color and number, plus a key for full stitches, half stitches, backstitch, and French knots if you use them.
- The chart, properly tiled. Split across pages that humans can actually use — with overlap between tiles, a page-map showing how the tiles assemble, and row/column numbers.
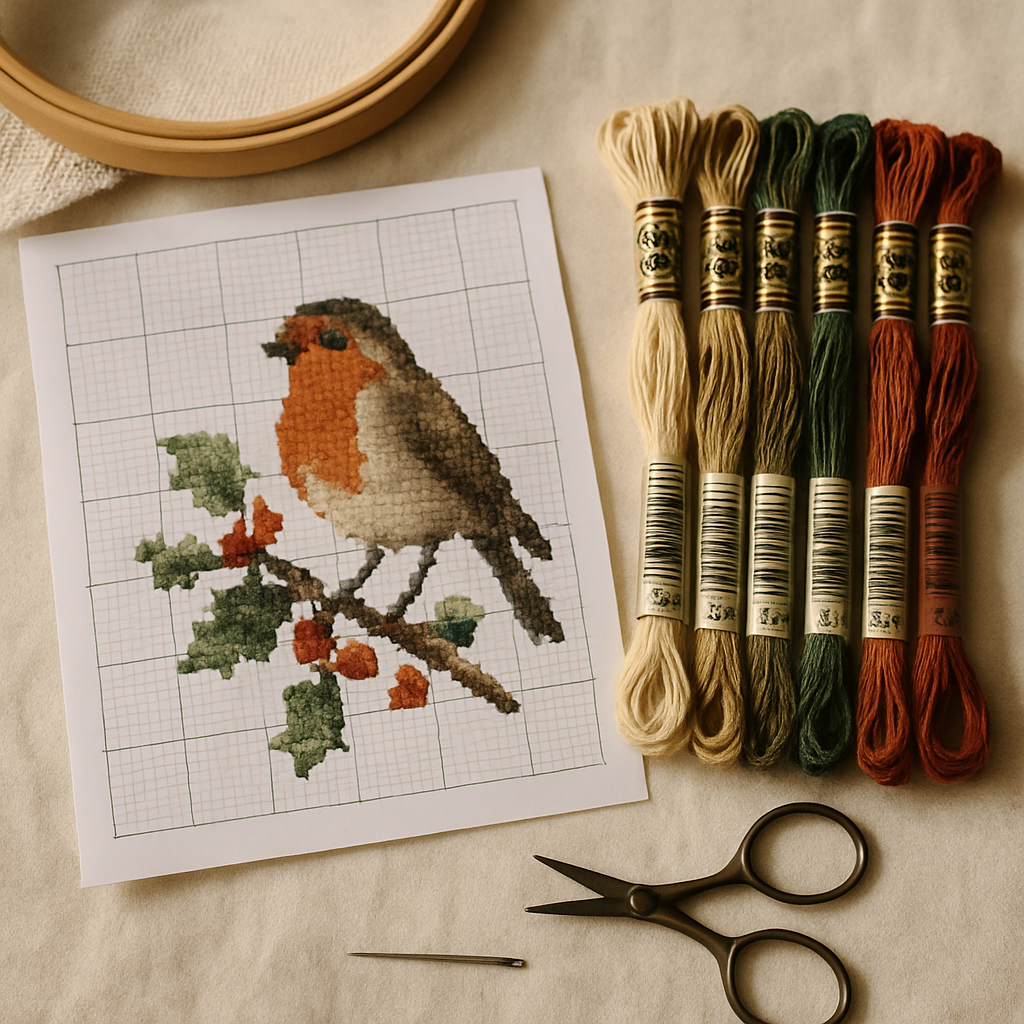
- A finished-image reference. A clear preview of the completed design so the stitcher always knows what they're building toward.
- Stitching notes. Where to start, how to handle confetti-heavy areas, any quirks of the design.
If any of those are missing, you'll feel it in your inbox.
The chart itself: legibility is everything
 Most "bad pattern" complaints trace back to a chart that's technically correct but physically hard to use. Four rules keep yours clean:
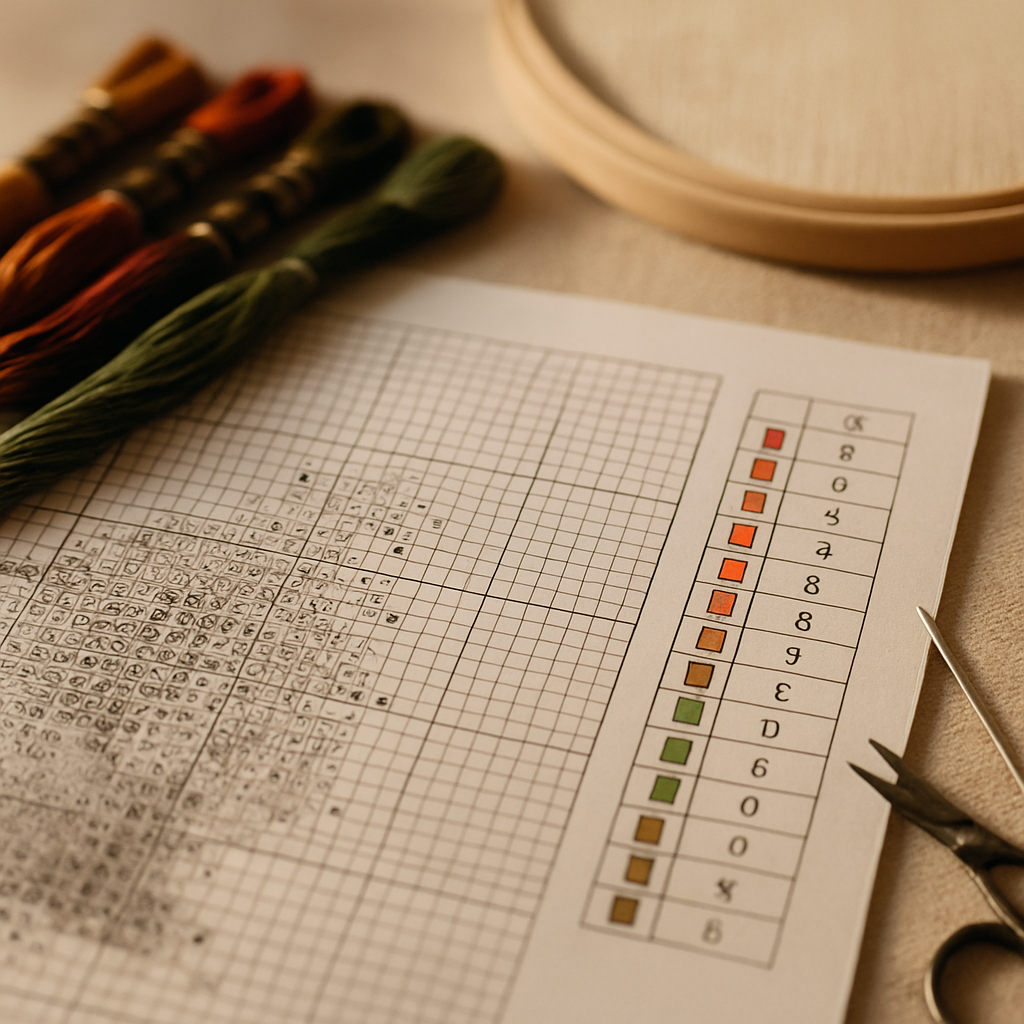
1. Symbols must work in black and white
This is the single most common mistake. A chart that relies on color alone to distinguish stitches becomes unreadable the moment a customer prints it on a black-and-white printer — and many do. Use distinct black symbols that are legible on their own, with color as a secondary cue. A good test: print one page in grayscale and try to stitch from it. If you can't, neither can your buyer. (More on building a clear symbol set in our forthcoming symbols and notation guide.)
2. Make the symbols genuinely distinct
Avoid sets where a dot, a small circle, and a period are easy to confuse at stitching distance. Light colors should get open/airy symbols and dark colors heavier ones, so the chart's visual weight roughly mirrors the finished piece. That alone cuts miscounts dramatically.
3. Bold every tenth line and number the grid
Heavier grid lines every ten squares, with row and column numbers, are how stitchers keep their place. Without them, a large chart is a sea of identical squares and people lose their spot constantly.
4. Tile for paper, with overlap and a map
Don't cram a 250-stitch-wide design onto one unreadable page, and don't tile it so the seams fall mid-motif with no overlap. Give adjacent pages a row or two of overlap and include a small page-map thumbnail so the stitcher knows how the sheets fit together.
Print-proof before you publish
 Your screen lies. Before a pattern goes live, run it through a quick print proof:
- Print a page in grayscale to confirm symbol legibility (rule 1 above).
- Check the scale — many printers default to "fit to page," which shrinks the chart. State the intended print size and confirm a page prints true.
- Verify color rendering — screen colors and printed colors differ; lean on the symbol + color number, never color alone.
- Read your own legend as if you'd never seen the design. Missing a single symbol in the key is a guaranteed support ticket.
Stitching a tricky section yourself before release catches errors a proof can't — the same discipline we cover in the designer's guide to pattern testing.
Exporting a clean PDF from StitchThis
The fastest way to hit every point above is to start from a tool that builds the document for you. StitchThis exports a clean PDF — a clear, properly laid-out chart with a complete floss legend — so you're not assembling cover pages and keys by hand in a design app that doesn't understand cross stitch.
A few StitchThis specifics that map onto the best practices here:
- Multi-brand palettes (DMC, Anchor, Cosmo, Gamma, Madeira, Metro) mean your legend lists real, buyable floss in whatever brand your customers use — not a conversion they have to do themselves.
- FORGE lets Studio designers batch-produce variations and whole collections, so a consistent, professional PDF isn't a one-off effort — it's your default output at volume.
- A commercial license on Studio covers selling what you export — whether you list on Etsy or your own shop — and pairs with your watermarking and licensing strategy.
The part most designers miss: a PDF can be a living document
Here's the workflow shift. Almost everyone treats a pattern PDF as the end of the line — once it's exported, it's frozen. StitchThis is one of the only tools that breaks that assumption, and it's worth understanding because it changes how you work and what your customers can do.
StitchThis can import a pattern PDF — it reads many common pattern formats — and turn it back into an editable, usable pattern. That unlocks three things:
- Enhance an existing pattern instead of rebuilding it. Got an older design, a rough chart, or a pattern that needs a cleanup pass? Import the PDF and edit it in the pattern editor — fix stray stitches, adjust colors, swap a palette, add a personalization banner — rather than redrawing from scratch.
- Track it while you stitch. Once a pattern is in StitchThis, you can stitch directly from the pattern viewer and mark off completed stitches, so even an imported pattern becomes a guided, progress-tracked project instead of a static printout you lose your place in.
- Understand what your buyers experience. Patterns that import cleanly into modern tools are more useful to the stitchers who buy them. Designing with clean symbols, a real legend, and standard tiling — the best practices above — is exactly what makes a PDF play well in that ecosystem.
The StitchThis lifecycle advantage: export a clean PDF, import a pattern PDF back in, edit it in the pattern editor to enhance it, and track every stitch in the viewer as you complete it. Export → import → edit → track, in one tool — not a flat file you can never touch again. Start free →
A caveat in the spirit of honesty: no importer reads every PDF perfectly — image-only or heavily stylized PDFs are harder than cleanly charted ones, which is the best argument for following the legibility rules above in your own exports. (We go deeper on moving between formats in the forthcoming pattern format conversion guide.)
A pre-publish checklist
Before any pattern PDF goes to a customer:
- Cover page with name, finished size, stitch count, fabric, and color count
- Full materials list with brand and skein estimates
- Complete legend: every symbol, color number, and stitch type
- Symbols legible in grayscale and distinct from one another
- Bold lines every 10 squares, grid numbered
- Chart tiled with overlap and a page-map
- Finished-image preview included
- Grayscale + true-scale print proof passed
- You stitched a sample section yourself
Frequently asked questions
What should a cross-stitch pattern PDF include? A cover page with specs, a materials and floss list, a complete symbol legend, the tiled chart with grid numbering, a finished-image preview, and stitching notes. Anything less reads as amateur and generates support requests.
Why do my symbols look fine on screen but bad when printed? Almost always because the chart leans on color to distinguish stitches. Many buyers print in black and white, so symbols must be distinct on their own. Always proof a page in grayscale.
How should I split a large chart across pages? Tile it with a row or two of overlap between pages and include a small page-map thumbnail showing how the sheets assemble. Never seam a tile through the middle of a motif with no overlap.
Can I edit a pattern PDF after it's made? In most tools, no — it's frozen. StitchThis is one of the few that can import a pattern PDF and make it editable again, so you can enhance an existing pattern in the editor and even track it in the viewer while you stitch.
Does StitchThis make professional pattern PDFs? Yes — it exports a clean, laid-out PDF with a clear chart and a full floss legend in the brand your customers use, and Studio's batch tools keep that quality consistent across a whole collection.
Ship PDFs that read like a studio made them
Your pattern PDF is the whole product in the buyer's hands. Get the legend, the symbols, the tiling, and the print proof right and you cut your refunds and earn your reviews. Start from a tool that builds the document properly — and remember the PDF doesn't have to be the end of the line. With StitchThis you can export it clean, import it back to edit and enhance, and track it stitch by stitch.
Try StitchThis free and export your first professional pattern PDF today.
Why StitchThis fits a designer workflow
The bottlenecks that slow down a serious designer aren't the cross-stitches themselves — they're the support pipeline around them. StitchThis is built to compress that pipeline. Photo-to-pattern conversion turns your source images into faithful charts, with StitchSense keeping detail where the eye lands and simplifying what's behind it, so portrait work doesn't dissolve into confetti. Studio-tier FORGE batch generation spins out several palette and treatment variations from a single source so you can pick the best version rather than committing to the first chart. The in-browser viewer doubles as a chart editor — paint, fill, change-all, half-stitch and backstitch tools — so post-generation cleanup happens in the same place as generation, not in a separate desktop app.
For the output side: every pattern exports as a clean PDF ready for branding and selling, with the legend rendered in any of six floss brands (DMC, Anchor, Cosmo, Gamma, Madeira, Metro) for buyer accessibility. The Studio commercial licence covers your right to sell what you produce. The floss stash tracker — populated by CSV upload or by photographing your skein organiser — keeps your own stash inventory accurate as you stitch test pieces, so test-stitching the patterns you sell doesn't ambush your floss budget. The free tier lets you run the full pipeline before committing; Studio adds FORGE and commercial licensing when you're ready to scale.
Try StitchThis free — the foundation a serious designer catalogue is built on.
Ready to turn your photo into a cross-stitch pattern?
Try StitchThis freeTwo patterns per month. No card required.