Cross-Stitch Christmas Stocking Size Guide (Dimensions, Stitch Counts & Personalization)
How big should a cross-stitch Christmas stocking be? A complete sizing reference with dimensions, stitch counts by fabric, and how to make a stocking-shaped pattern.
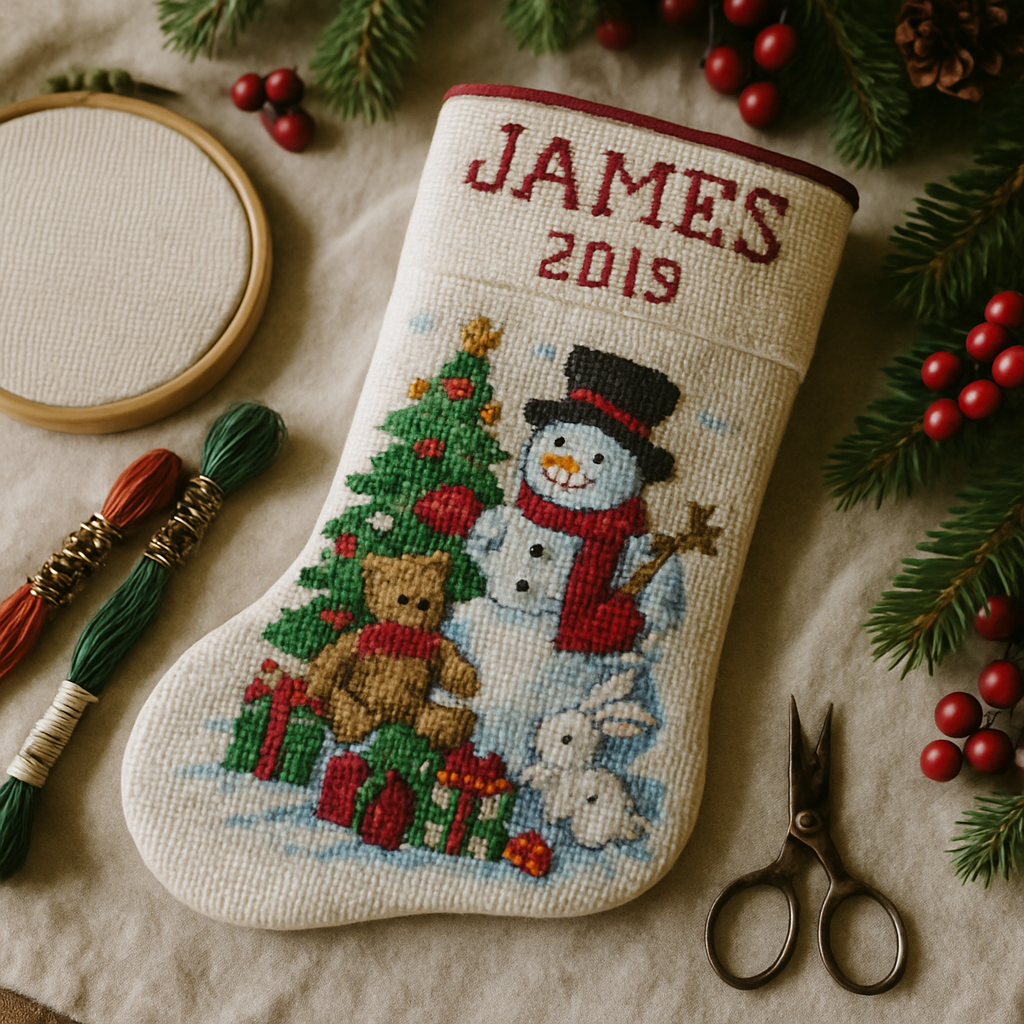
A cross-stitch Christmas stocking is one of those projects that gets handed down. People don't throw out a stocking with their kid's name and birth year stitched into the cuff — it comes out of the box every December for thirty years. Which is exactly why getting the size right before you start matters so much. Stitch a stocking too small and it looks like an ornament; too big and you're still working on it at midnight on the 24th.
This is the reference I wish I'd had the first time: real finished dimensions, the stitch-count math for each common fabric, where to spend your detail, and how to turn the whole thing into a stocking-shaped pattern instead of wrestling a rectangular chart into a curve by hand. If you'd rather just build one, you can try StitchThis free and follow along.
First decide: what kind of stocking are you stitching?
 "Cross-stitch stocking" actually means three different projects, and they're sized completely differently. Pick yours before you think about a single stitch.
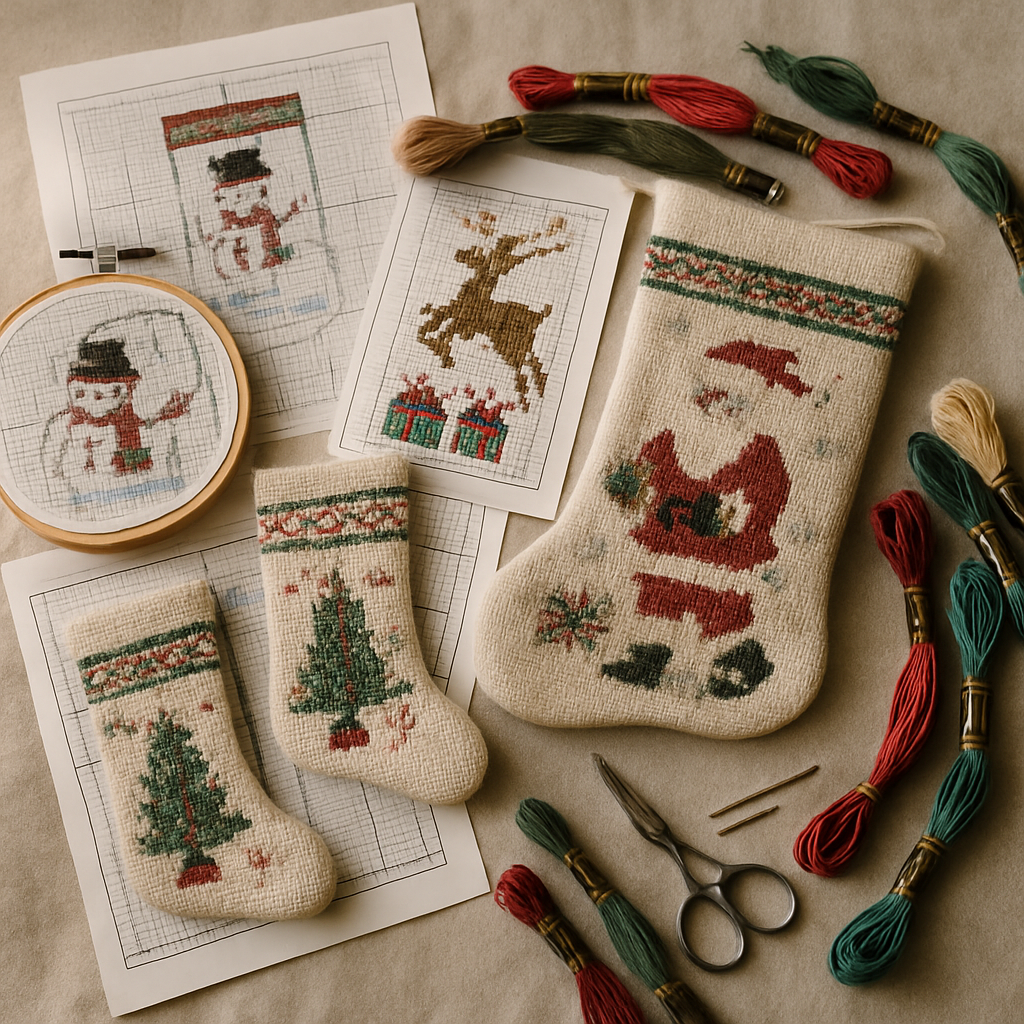
- Full stitched front panel. The entire front of the stocking is cross-stitched on Aida or evenweave, then backed with fabric and sewn into a stocking shape. The showstopper — and the biggest commitment.
- Stitched cuff band. Only the top cuff is cross-stitch (usually the name and a small motif); the body is felt, velvet, or quilting cotton. Far faster, very popular, and the classic "first stocking" project.
- Framed motif or insert. A small stitched scene mounted into a pre-made stocking with a window. The lowest-effort option.
Most of the sizing confusion online comes from people comparing a full-panel project to a cuff band as if they're the same thing. They aren't.
Standard Christmas stocking dimensions
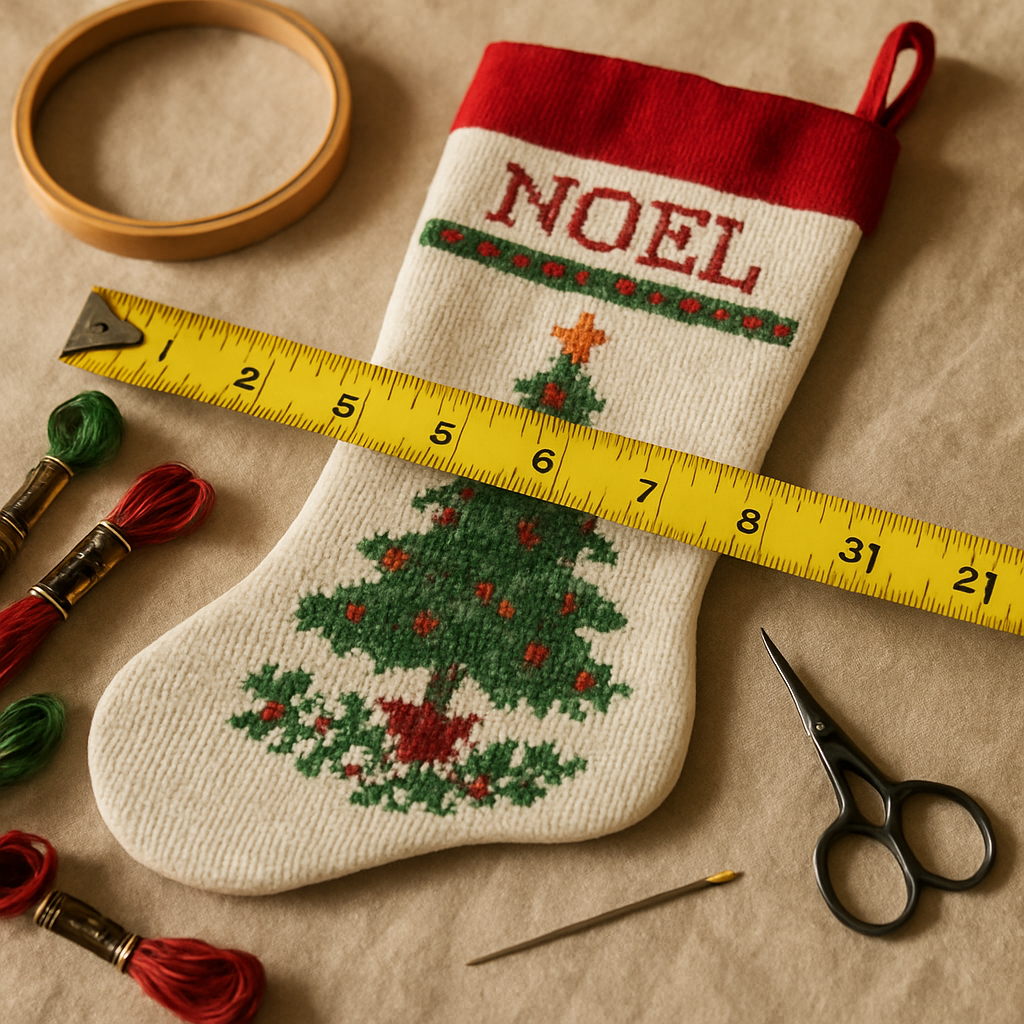 Here's the baseline. A "standard" hanging Christmas stocking runs roughly 18–20 inches from the top of the cuff to the toe, and about 7–8 inches across the foot. Mini and advent stockings are usually 6–9 inches. Those are the finished sewn sizes — your stitched area is smaller, because a stocking is a curved shape and you lose a margin to the seam.
| Stocking type | Finished length | Stitched front-panel area (approx.) |
|---|---|---|
| Full-size hanging stocking | 18–20 in | ~15 × 7.5 in |
| Medium / standard | 14–16 in | ~12 × 6.5 in |
| Mini / advent | 6–9 in | ~5 × 3 in |
| Cuff band only | (band on any size) | ~7–9 in wide × 2.5–3.5 in tall |
A couple of practical notes. Leave at least a half-inch to one-inch margin of unstitched fabric all the way around a full panel for the seam allowance — design to the stitched area, not the finished length. And remember the toe and heel curve inward, so your design's usable width near the bottom is narrower than the foot measurement suggests.
The stitch-count math (this is where size really comes from)
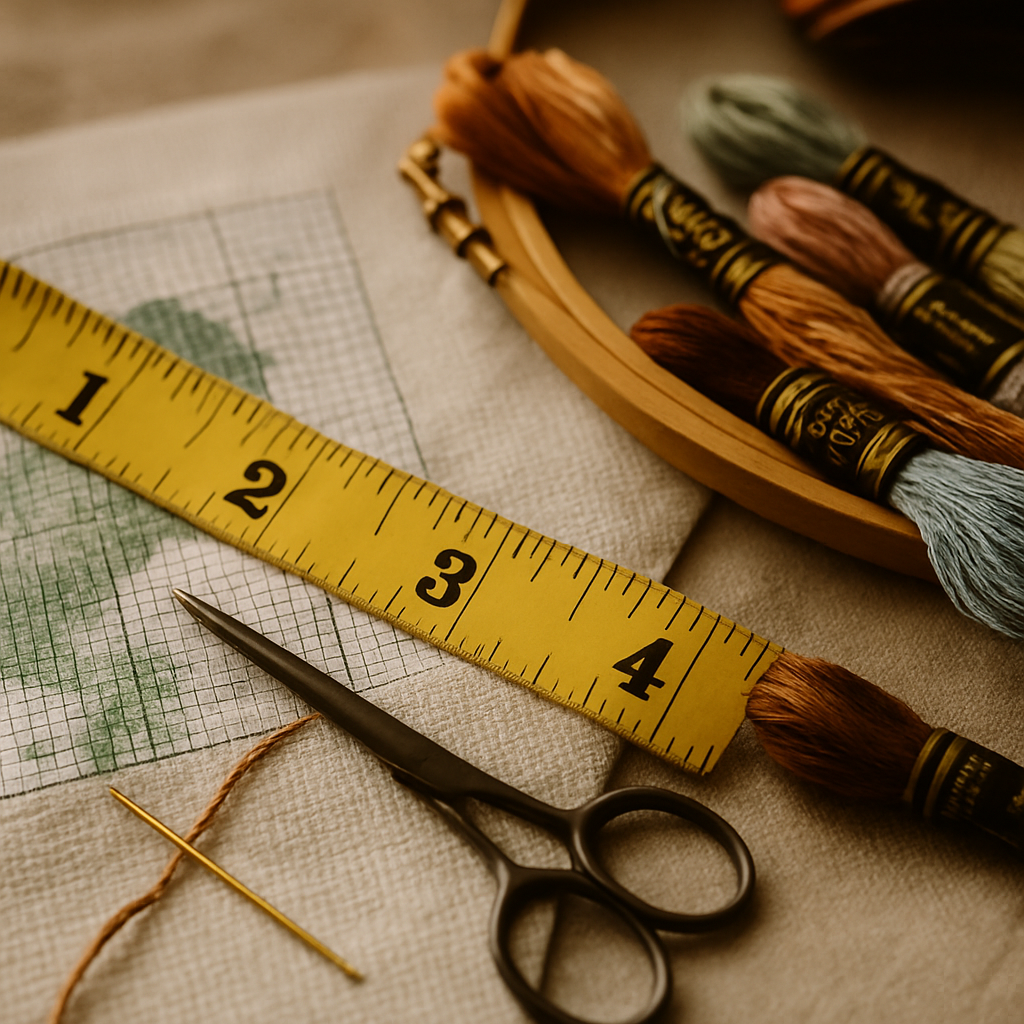 Finished size in cross stitch comes from two numbers: how many stitches your design is, and how many stitches per inch your fabric holds. The formula never changes:
Design width in inches = stitch count ÷ fabric count
So the same chart finishes at different sizes on different fabric. A design that's 168 stitches wide finishes at 12 inches on 14-count, but only about 9.3 inches on 18-count. Here's what a full front panel works out to:
| Fabric (count) | Stitches per inch | A 15 × 7.5 in panel needs (W × H) |
|---|---|---|
| 11-count Aida | 11 | ~83 × 165 stitches |
| 14-count Aida | 14 | ~105 × 210 stitches |
| 16-count Aida | 16 | ~120 × 240 stitches |
| 18-count Aida | 18 | ~135 × 270 stitches |
For a project this large, lower counts are your friend. An 11- or 14-count stocking stitches up dramatically faster than 18-count and is far easier on the eyes across the many evenings a full panel takes. Save 16 and 18 for small, detail-critical pieces. If you're unsure which count suits you, our Aida 14 vs 16 vs 18 guide breaks down the trade-offs, and our stitch count to inches calculator does the arithmetic for you.
Where to spend your stitches on a stocking
A stocking has a natural hierarchy, and good ones respect it:
- The cuff carries the name and year. This is the part people read first and remember, so it earns crisp, legible lettering.
- The body carries the main scene — Santa, a pet, a nativity, a snowy village.
- The toe and heel are often left as solid blocks or simple borders. Don't cram detail into a curve nobody's eye lands on.
The mistake beginners make is treating the whole panel as equally important and burning out on the toe. Front-load the detail where it's seen.
The hard part nobody mentions: getting the shape right
Here's the problem every stocking stitcher hits. Charts are rectangles. Stockings are not. If you take a normal square design and try to fit it into a stocking outline, you end up hand-editing the edges stitch by stitch so the pattern actually follows the curve of the foot and the cuff — tedious, error-prone work that most tools leave entirely up to you.
This is the single biggest reason people give up and pay $30–40 for a pre-made stocking chart on Etsy — and then they're stuck with someone else's design, someone else's name placement, and no way to use their own photo.
StitchThis solves the shape and the sizing in one step
StitchThis includes a stocking-shaped pattern frame — and as far as we know, it's the only pattern tool that does. Instead of forcing a square chart into a curve, you start from the stocking shape itself. You can use it two ways:
- Drop in a photo. Apply the stocking frame to your source image — a family photo, a pet, a winter scene — and StitchThis charts a faithful, stitchable pattern shaped to the stocking. (The tools clean and prepare the source image; the pattern is charted faithfully from it, stitch for stitch — never a fake "AI render." More on that in free cross-stitch patterns from your own photos.)
- Draw inside it in the freehand designer. Use the stocking frame as your canvas and design from scratch — borders, motifs, lettering — all bounded to the shape, so the edges follow the curve automatically.
That's the moat. The thing that costs $40 and a week of fiddling elsewhere is a starting template here, and it's yours — your photo, your name, your colors.
Why stitchers reach for StitchThis on stocking projects: the stocking frame solves the shape, the image-to-pattern engine turns your photo into a faithful chart, StitchSense keeps faces and focal detail sharp, multi-brand palettes (DMC, Anchor, Cosmo, Gamma, Madeira, Metro) match the floss you own, and the freehand designer adds the name on the cuff. One tool, the whole stocking. Start free →
Personalizing the cuff with a name and year
The detail that turns a stocking into an heirloom is the cuff: a name and the year. Plan its size early, because lettering needs room. A readable stitched alphabet is usually 6–10 stitches tall, so a cuff band 2.5–3.5 inches tall gives you space for a name plus a small motif on most fabric counts.
In StitchThis you can chart that lettering with the freehand designer, or drop it onto a charted design with the pattern editor — adjusting individual stitches and colors until the spacing is right. If you're making a matched set for the whole family, the same base design with swapped names keeps them consistent (and Studio's batch tools make a set of them quick to produce).
Plan the floss and the deadline before you start
A full-panel stocking is a big project — easily tens of thousands of stitches. Two ways to keep it finishable:
- Check your stash before you shop. StitchThis's floss stash tracker shows which colors in your palette you already own, so you only buy the gaps instead of a full new set of reds and greens every December.
- Be honest about hours. A full 14-count panel is many weeks of evenings. If Christmas is close, choose a cuff band or a mini stocking this year and save the full panel for a project you start in summer.
When the chart's ready, export a clean PDF to stitch from at the frame, or work on a larger screen — our pattern maker for Mac guide covers the desktop flow; it's the same toolset in any browser.
Quick sizing cheat sheet
- Full hanging stocking: ~15 × 7.5 in stitched area; use 11 or 14-count to keep it sane.
- Cuff band only: ~7–9 in wide × 2.5–3.5 in tall; fastest path to a personalized stocking.
- Mini / advent: ~5 × 3 in; a great weekend project and a good first stocking.
- Always leave a 0.5–1 in unstitched seam margin around a full panel.
- Lettering needs ~6–10 stitches of height per line — size the cuff for the name first.
Frequently asked questions
How big should a cross-stitch Christmas stocking be? A standard hanging stocking is 18–20 inches finished, with a stitched front panel around 15 × 7.5 inches. Cuff-band and mini versions are much smaller and far quicker.
How many stitches is a full stocking panel? On 14-count Aida, a 15 × 7.5 inch panel is roughly 105 × 210 stitches at the bounding box — though the actual stitched count is lower because the stocking shape curves inward. Lower fabric counts mean fewer stitches per inch and a faster project.
What's the best fabric count for a stocking? For a large panel, 11 or 14-count — faster to stitch and easier on the eyes. Reserve 16 and 18-count for small, detail-heavy pieces.
Can I make a stocking-shaped pattern from my own photo? Yes — StitchThis has a stocking-shaped pattern frame. Apply it to your source photo and it charts a faithful pattern shaped to the stocking, or use the frame as a canvas in the freehand designer to draw your own.
Is it cheaper to make my own than buy one? Pre-made stocking charts often run $30–40 each, and you're locked into that designer's name and layout. Making your own lets you use your photo, your name, and your colors — and you can start free.
How do I add a name to the cuff? Use the freehand designer to chart the lettering, or the pattern editor to place it on an existing design. Size the cuff band for the name first — lettering needs vertical room.
Make the stocking that comes out of the box for thirty years
Size it right, put the detail where it's seen, and let the shape work for you instead of against you. With StitchThis's stocking frame you start from the right shape, drop in your photo or draw your own, personalize the cuff, and export a clean PDF to stitch — no $40 chart, no hand-editing curves.
Try StitchThis free and start your stocking today. Designing a whole family set to sell? StitchThis Studio's batch tools make a matched run quick to produce.
Ready to turn your photo into a cross-stitch pattern?
Try StitchThis freeTwo patterns per month. No card required.