Aida 14 vs 16 vs 18: The Complete Cross-Stitch Fabric Count Guide
Aida 14 vs 16 vs 18 explained simply: what fabric count means, how it changes finished size and detail, how many strands to use, and which count to choose.
Here's a fact that catches almost every new stitcher off guard: a higher Aida count gives you a smaller finished piece, not a bigger one. It feels backwards. Surely a bigger number means bigger fabric? But "count" doesn't measure the fabric's size — it measures how many stitches you pack into every inch. The more you pack in, the smaller each stitch, and the smaller the whole design ends up.
Once that clicks, choosing between 14, 16, and 18 count stops being guesswork. This guide breaks down exactly how the three most common Aida counts differ — in size, detail, difficulty, and the floss and needles they call for — and gives you a simple way to pick the right one for any project.
What "Aida count" actually means
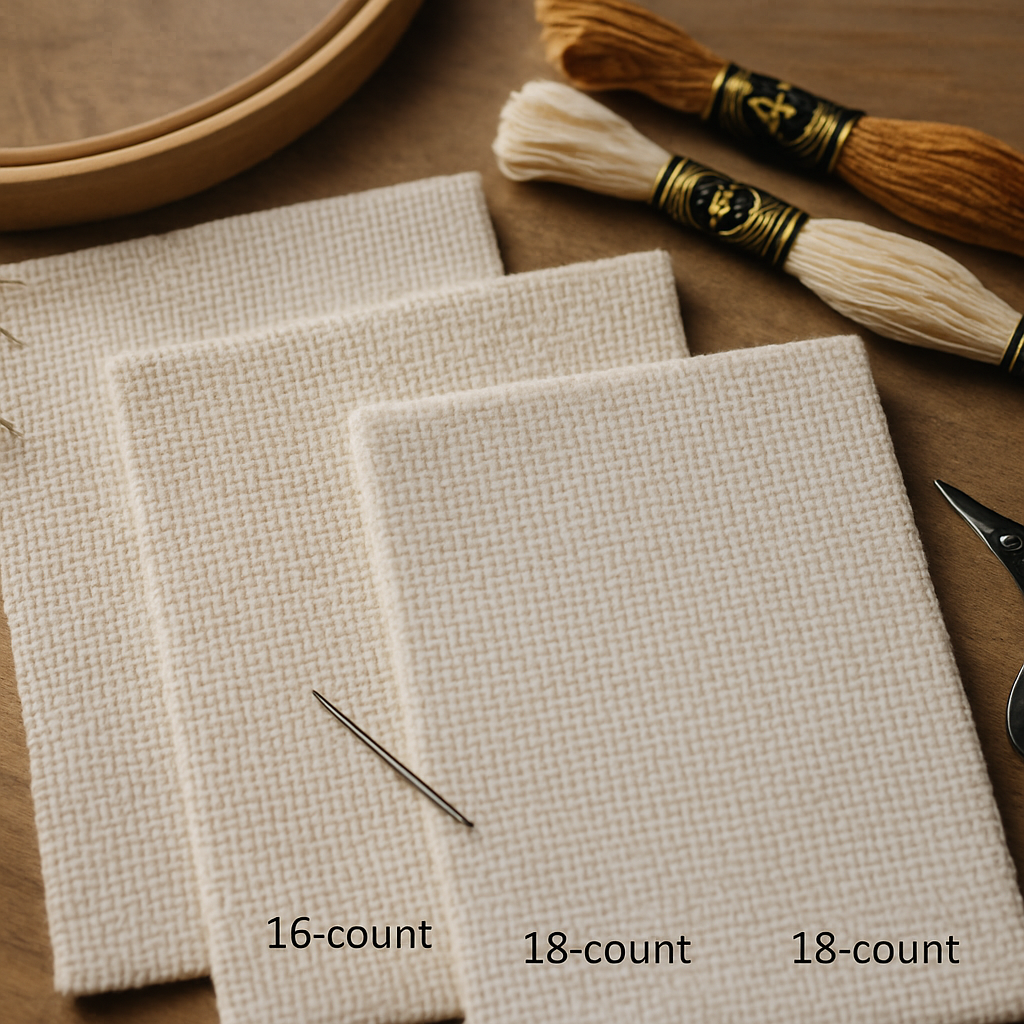
 Aida is the stiff, evenly woven fabric most cross-stitchers start on. Its surface is a grid of little squares, and each square holds one cross-stitch. The "count" is how many of those squares — and therefore how many stitches — fit into one inch.
- 14 count = 14 stitches per inch
- 16 count = 16 stitches per inch
- 18 count = 18 stitches per inch
That single number drives everything else: how big your project finishes, how much fine detail it can hold, and how hard it is on your eyes and hands.
The big one: higher count means smaller stitches, not bigger fabric
 This is the point worth tattooing on the inside of your stitching bag.
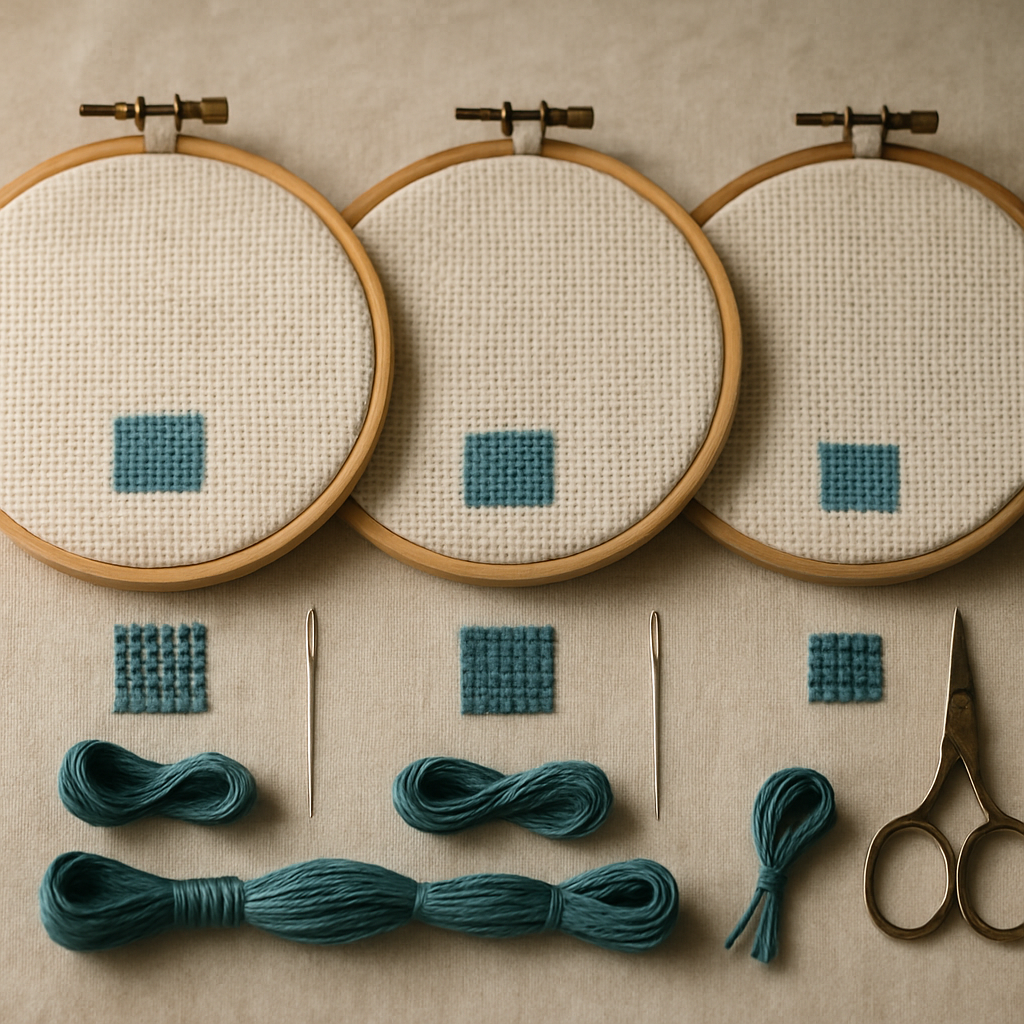
A cross-stitch pattern has a fixed stitch count — say, 140 stitches wide by 140 tall. That number never changes, no matter what fabric you use. What does change is how big those 140 stitches end up, and that depends entirely on the fabric count.
The count trap Bigger count number = smaller stitches = smaller finished piece. The same design is largest on 14 count and smallest on 18 count. If you want a bigger finished piece, go to a lower count.
So if your project came out surprisingly tiny (or huge), the fabric count is almost always the culprit — not the pattern.
Aida 14 vs 16 vs 18 at a glance
| 14 count | 16 count | 18 count | |
|---|---|---|---|
| Stitches per inch | 14 | 16 | 18 |
| Stitch size | Largest | Medium | Smallest |
| Finished size (same pattern) | Biggest | Medium | Smallest |
| Detail capacity | Good | Better | Best |
| Ease on the eyes | Easiest | Moderate | Hardest |
| Best for | Beginners, kids, bold designs | Intermediate, balanced projects | Detailed portraits, small finishes |
| Typical floss strands | 2 | 2 | 2 (or 1 for fine work) |
14-count Aida — the friendly default
If you're new, start here. 14 count has large, clearly defined holes that are easy to see and easy to get a needle through, which makes the actual stitching faster and far less fiddly. It's the most widely sold count, so patterns, kits, and fabric colors are everywhere.
The trade-off is detail: with only 14 stitches per inch, very fine features (the curve of an eyelid, tiny lettering) have less room to render. For bold, graphic designs and most beginner projects, that's a non-issue. For a highly detailed portrait, you may want more resolution. New to the craft entirely? Our beginner's guide pairs perfectly with starting on 14 count.
16-count Aida — the middle ground
16 count is the quiet favorite of a lot of experienced stitchers. It's only two counts finer than 14, but that's enough to noticeably sharpen detail and shrink the finished size, while the holes are still findable without a magnifier in good light. Two strands of floss give lovely coverage. If 14 feels a touch coarse and 18 feels intimidating, 16 is the comfortable in-between.
18-count Aida — fine detail (and finer needles)
18 count is where you go for crisp detail and a smaller, jewel-like finish. Portraits, intricate samplers, and pieces you want to keep compact all benefit. The cost is difficulty: the holes are small, the stitches are tiny, and most people need good lighting and often a magnifier. Many stitchers drop to one strand for full coverage at this count, or stick with two for a fuller look — test on a scrap first.
Eye-strain tip The higher the count, the more your eyes work. A daylight lamp and (for 18 count and up) a clip-on magnifier make fine counts genuinely pleasant instead of punishing. If your eyes tire easily, there's zero shame in choosing a lower count.
How count changes your finished size
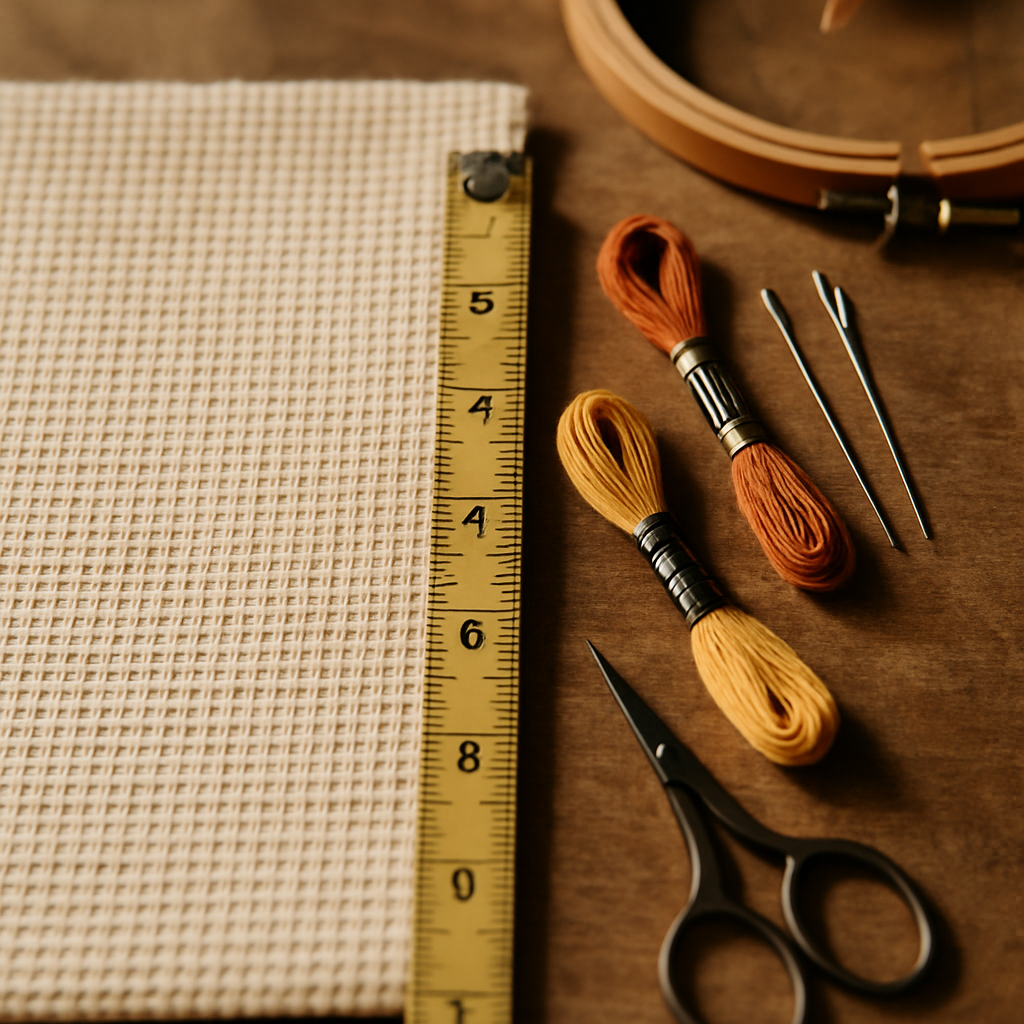
The math is refreshingly simple:
Finished size (inches) = stitch count ÷ fabric count
Take a 140 × 140 stitch design:
| Fabric count | Width calculation | Finished size |
|---|---|---|
| 14 count | 140 ÷ 14 | 10.0 in |
| 16 count | 140 ÷ 16 | 8.75 in |
| 18 count | 140 ÷ 18 | ~7.8 in |
Same pattern, three very different sizes. Always add a few inches of margin all around for framing and to fit your hoop. If you'd rather not do the arithmetic, our stitch count to inches calculator and fabric size calculator do it instantly.
Strands and needles by count
Coverage and comfort change with count. A quick reference:
| Count | Floss strands (full coverage) | Tapestry needle |
|---|---|---|
| 14 | 2 strands | Size 24 |
| 16 | 2 strands | Size 24–26 |
| 18 | 1–2 strands | Size 26 |
These are starting points, not laws. Floss thickness and the look you want both matter, so stitch a small test patch on a fabric scrap before committing to a big project.
How count and pattern detail work together
Here's the part most fabric guides skip. Choosing a high count for "more detail" only helps if the pattern itself actually contains that detail. Stitch a muddy, low-detail chart on 18 count and you just get a smaller muddy piece — you can't add sharpness the design never had.
This is where the pattern and the fabric become a pair. A detailed portrait wants both a higher count and a pattern that preserved its detail in the first place — especially in the face and eyes, where a naive conversion tends to dissolve everything into confetti. (That mismatch is a common reason a finished piece looks worse than expected.)
When you create a pattern on StitchThis, you set the design's stitch count, and StitchSense keeps detail where it matters — the focal subject and face — while calming busy areas. That means when you do stitch on a finer count, the extra resolution actually shows off real detail instead of magnifying noise. Decide your stitch count and your fabric count together and the finished piece lands at the size and sharpness you pictured. (For the full conversion process, see turning a photo into a pattern.)
Why this matters for choosing count Pick a higher Aida count for detailed subjects (portraits, fine lettering) — but make sure your pattern carries that detail first. On StitchThis you can build a clean, detail-preserving pattern free and choose the stitch count that suits the fabric you have in mind. Try it free →
Can you stitch a pattern on a different count?
Yes — a pattern isn't locked to a count. The chart stays the same; only the finished size changes. Take a chart "designed for 14 count" and stitch it on 18, and you'll get the identical design at a smaller size. Just rerun the size math (stitch count ÷ new fabric count) so you buy enough fabric and aren't surprised by the result.
One caution: dropping to a much higher count makes every stitch smaller and the work harder, so switching isn't free — it's a comfort and eyesight decision as much as a size one.
How to choose (quick decision guide)
Choose your Aida count
- New, stitching with kids, or want it easy on the eyes? → 14 count
- Want a balance of detail and comfort? → 16 count
- Detailed portrait, fine lettering, or a small finish? → 18 count (good light + maybe a magnifier)
- Want a bigger finished piece? → go lower (14)
- Want a smaller finished piece? → go higher (18)
There's no single "best" count — only the best one for this project, your eyes, and the size you want on the wall. When in doubt, 14 or 16 keeps things comfortable.
Frequently asked questions
Which Aida count is easiest for beginners? 14 count. Its larger holes and bigger stitches are the easiest to see and work, which is why most beginner kits use it. 16 is a fine step up once you're comfortable.
Does the fabric count change how many stitches are in my pattern? No. The pattern's stitch count is fixed. The fabric count only changes the size of the finished piece — higher count makes it smaller, lower count makes it bigger.
How many strands of floss should I use per count? As a starting point: two strands on 14 and 16 count, and one or two strands on 18 count depending on how full you want the coverage. Always test on a scrap first.
Can I stitch a 14-count pattern on 18-count Aida? Yes. The design is identical; it just comes out smaller. Recalculate the finished size (stitch count ÷ 18) so you cut enough fabric, and be ready for smaller, finer stitching.
Why do higher counts cause eye strain? Smaller holes and stitches force your eyes to work harder to place each stitch. Good daylight lighting and a magnifier make high counts much more comfortable — or simply choose a lower count.
What are the evenweave/linen equivalents? Evenweave and linen are usually stitched "over two" threads, so a 28-count evenweave worked over two threads gives 14 stitches per inch — the same as 14-count Aida. That's how stitchers match counts across fabric types.
The count, demystified
Aida count is just stitches-per-inch wearing a confusing name. Remember the one rule — higher count, smaller stitches, smaller finish — and the rest follows: 14 for ease and size, 16 for balance, 18 for fine detail in a compact piece. Match your fabric count to the project, your eyes, and the size you actually want, and you'll never be ambushed by a surprise finished size again.
Planning a project? You can build a pattern on StitchThis free — set your stitch count, keep the detail where it counts, and pair it with the Aida count that gives you the size and sharpness you're after. StitchThis covers the full workflow — pattern creation from your photo, multi-brand floss tracking, the in-browser viewer that doubles as a chart editor, and a community of stitchers to keep you going. Try StitchThis free →
The full StitchThis workflow
Whatever you're making — a beginner piece, a memorial portrait, a gift, a pattern to sell — the StitchThis pipeline is the same handful of pieces working together, and each one is built around a friction that kills other tools.
- Photo-to-pattern conversion with StitchSense keeps the detail where the eye lands (faces, eyes, focal subjects) and simplifies what's behind it, so the finished piece looks like the subject rather than a confetti smear.
- Six floss brands in the legend — DMC, Anchor, Cosmo, Gamma, Madeira, Metro — so the pattern arrives in the brand you actually own.
- Floss stash tracker with CSV upload (from an existing spreadsheet) or photo upload (snap your skein organiser to import in seconds, no manual data entry).
- In-browser viewer that doubles as a chart editor — tap each stitch to track progress, paint or fill new stitches with the draw tools, change all instances of one colour to another, edit fractional stitches and backstitch.
- Freehand designer for drawing patterns from scratch or adding names, dates, and personal touches to a generated chart.
- Studio-tier FORGE batch generation for designers producing multiple variations from one source.
- Clean PDF export ready to print, share, or sell.
- The whole workflow in one place — pattern creation, floss tracking, the in-browser viewer with chart editor, and a community of stitchers cheering each other on.
Try StitchThis free — the workflow is built around the small frictions that kill other tools, so you can spend the time stitching instead of fighting your software.
Related reading on StitchThis:
Ready to turn your photo into a cross-stitch pattern?
Try StitchThis freeTwo patterns per month. No card required.