
Why do I need the mirrored transfer sheet?
An iron-on transfer pen prints a mirror image of whatever you trace. Tracing the mirrored sheet means the design lands on the fabric the right way round.
Pattern help
Your iron-on transfer came out faint, smudged, backwards or the wrong size, and now the lines are on the fabric for good.
Your StitchThis pattern PDF has two full-size transfer sheets: a normal one for tracing and a mirrored one for iron-on transfer pens. This guide shows which to use and how to iron it on cleanly.
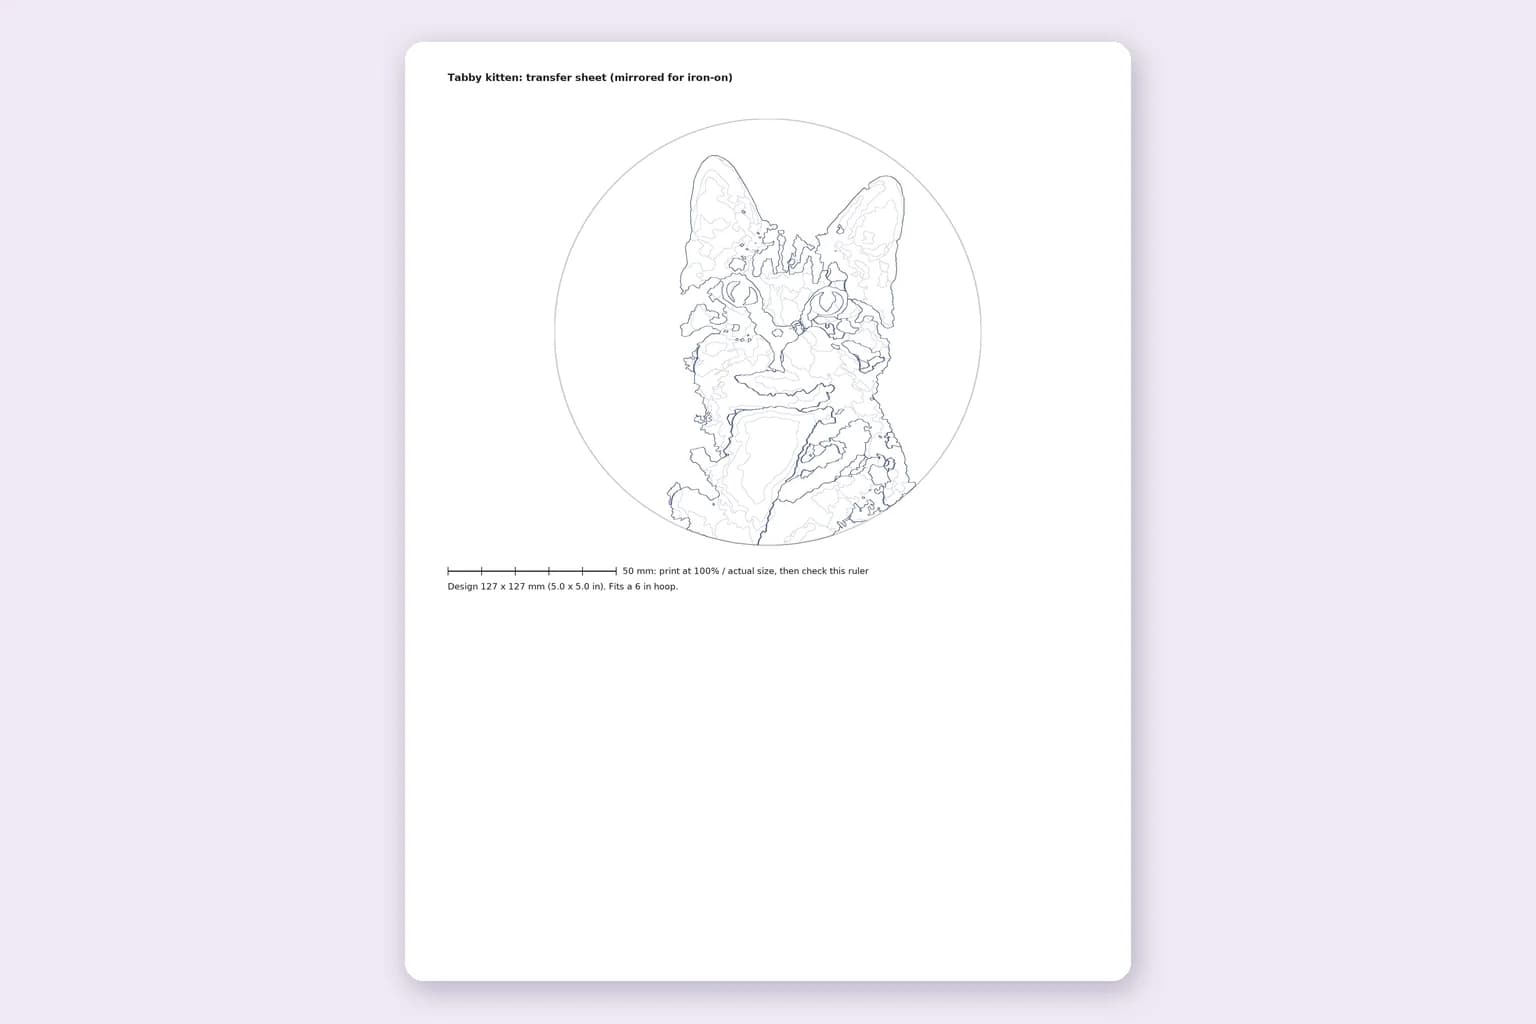
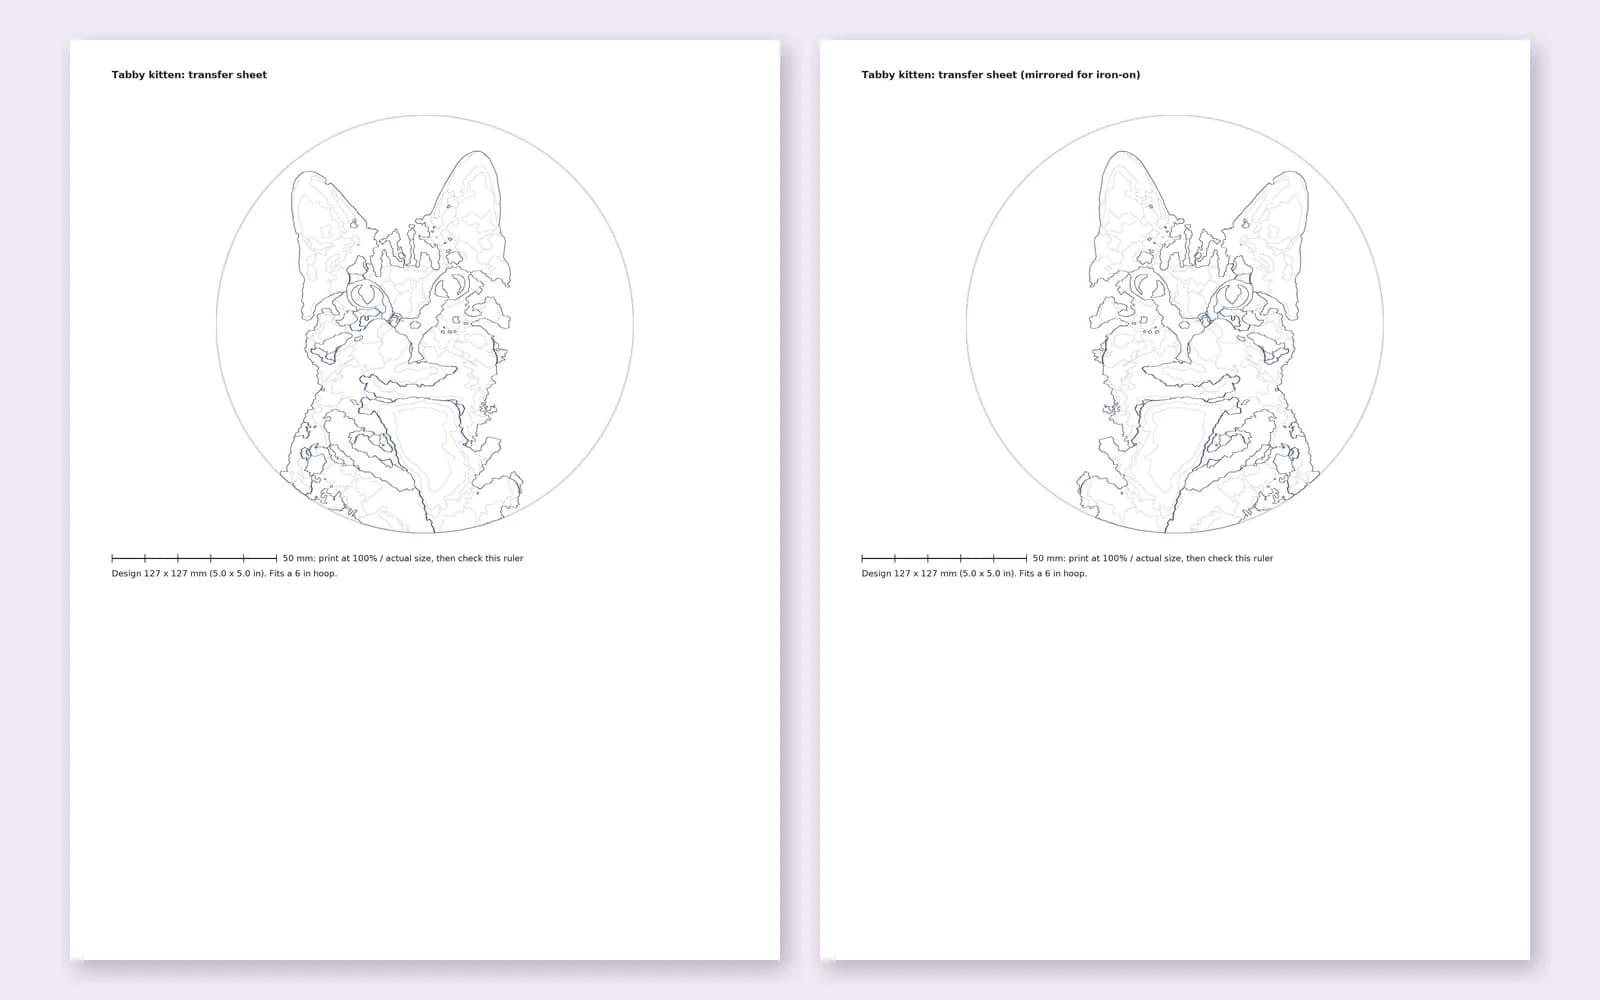
In your printer settings choose “Actual size” or “100%”, not “Fit to page” or “Shrink to fit”. Then measure the ruler printed on the sheet with a real ruler. If it reads 50 mm, the design will match the size you chose when you made the pattern. If it doesn’t, change the setting and print again.
The pattern is sized to fit one page (up to 7 inches), so you don’t need to tile or tape sheets together.
Trace the mirrored sheet onto plain paper with your transfer pen or pencil, then iron that paper face-down onto the fabric. The design flips as it transfers, so it comes out the right way round.
Use it under the fabric on a light box or window and trace with a water-soluble or heat-erasable pen, or print or trace it onto water-soluble stick-and-stitch stabilizer.
StitchThis supplies the PDF sheets; you’ll need your own iron-on transfer pen or pencil from a craft store. Not sure a transfer pen is right for your fabric? Compare every option in how to transfer an embroidery pattern to fabric.
Lay thin plain paper over the mirrored sheet and trace the lines with the transfer pen or pencil. Keep a sharp point and an even line; you can only transfer what you trace.
Draw a short line on spare paper, iron it onto a scrap of the same fabric, and check how dark it comes out and how hot the iron needs to be.
Press the fabric smooth on a hard, heat-safe surface. Set a dry iron to suit the fabric and switch off the steam: moisture makes the lines blur.
Put the traced side against the right side of the fabric, square to the grain, and pin or tape the corners so it can’t move.
Hold the iron still on one area for the time your pen recommends, lift it, and move to the next area. Sliding the iron smears the lines.
Keep the paper pinned and peel back one corner. If the lines are faint, lay it down and press again before you remove the paper.
| Problem | Likely cause | Fix |
|---|---|---|
| Lines too faint | Iron too cool, not pressed long enough, or a thin traced line | Press again before lifting the paper; trace with more pressure next time |
| Smudged or doubled lines | The iron slid or the paper shifted | Pin the paper and lift and press instead of gliding |
| Design is backwards | The normal sheet was traced instead of the mirrored one | Trace the mirrored sheet; text and faces must start reversed |
| Wrong size | The PDF printed scaled | Print at 100% / actual size and check the 50 mm ruler |
| Lines show after stitching | Iron-on marks are usually permanent | Stitch just over the line, or choose a washable method on visible edges |
Most transfer pens and pencils are designed to be permanent. Read the label on yours.
Because iron-on lines don’t wash out, they work best where stitching covers every mark: solid satin and long & short fills, and outlines worked right over the line. For airy designs with lots of bare fabric, or anything where a stray line would show, trace the normal sheet with a water-soluble pen or use stick-and-stitch stabilizer instead.
Planning your threads at the same time? Our guide to how many strands of floss explains why StitchThis patterns use two strands. And if you don’t have a pattern yet, make a hand embroidery pattern from your photo: the transfer sheets come with it.
An iron-on transfer pen prints a mirror image of whatever you trace. Tracing the mirrored sheet means the design lands on the fabric the right way round.
Actual size or 100%, never Fit to page. Then measure the 50 mm ruler on the sheet to confirm the scale.
No. The pattern PDF includes the transfer sheets; you trace them with an iron-on transfer pen or pencil from any craft store, or use another method.
No. Use a dry iron. Steam and moisture make the ink spread and the lines blur.
Usually not: most transfer pens and pencils are permanent. Plan to cover every line with stitching.
Many pens give more than one print from a single tracing, each a little fainter. Check your pen’s label and test on scrap.
Making and editing a pattern is free with a StitchThis account. Saving it or downloading the PDF uses a pattern credit ($5.99 per pattern, or 5 for $20). Embroidery is included in Maker ($5.99/month) and in Craft Unlimited, with unlimited patterns.