Why does my French knot keep pulling through the fabric?
The needle is going back down in the same hole it came up from. Go down a thread or two beside it, and keep the wraps snug against the needle as you pull through.
Stitch guide · raised stitch
You wrap, you pull, and the knot vanishes to the back of the fabric. Or it sits there as a floppy loop, and no two knots come out the same size.
A French knot is four moves and one habit: go down beside the hole, not in it, and keep the wraps snug until the thread is through. Here’s each step, a numbered diagram and the fixes for every common problem.
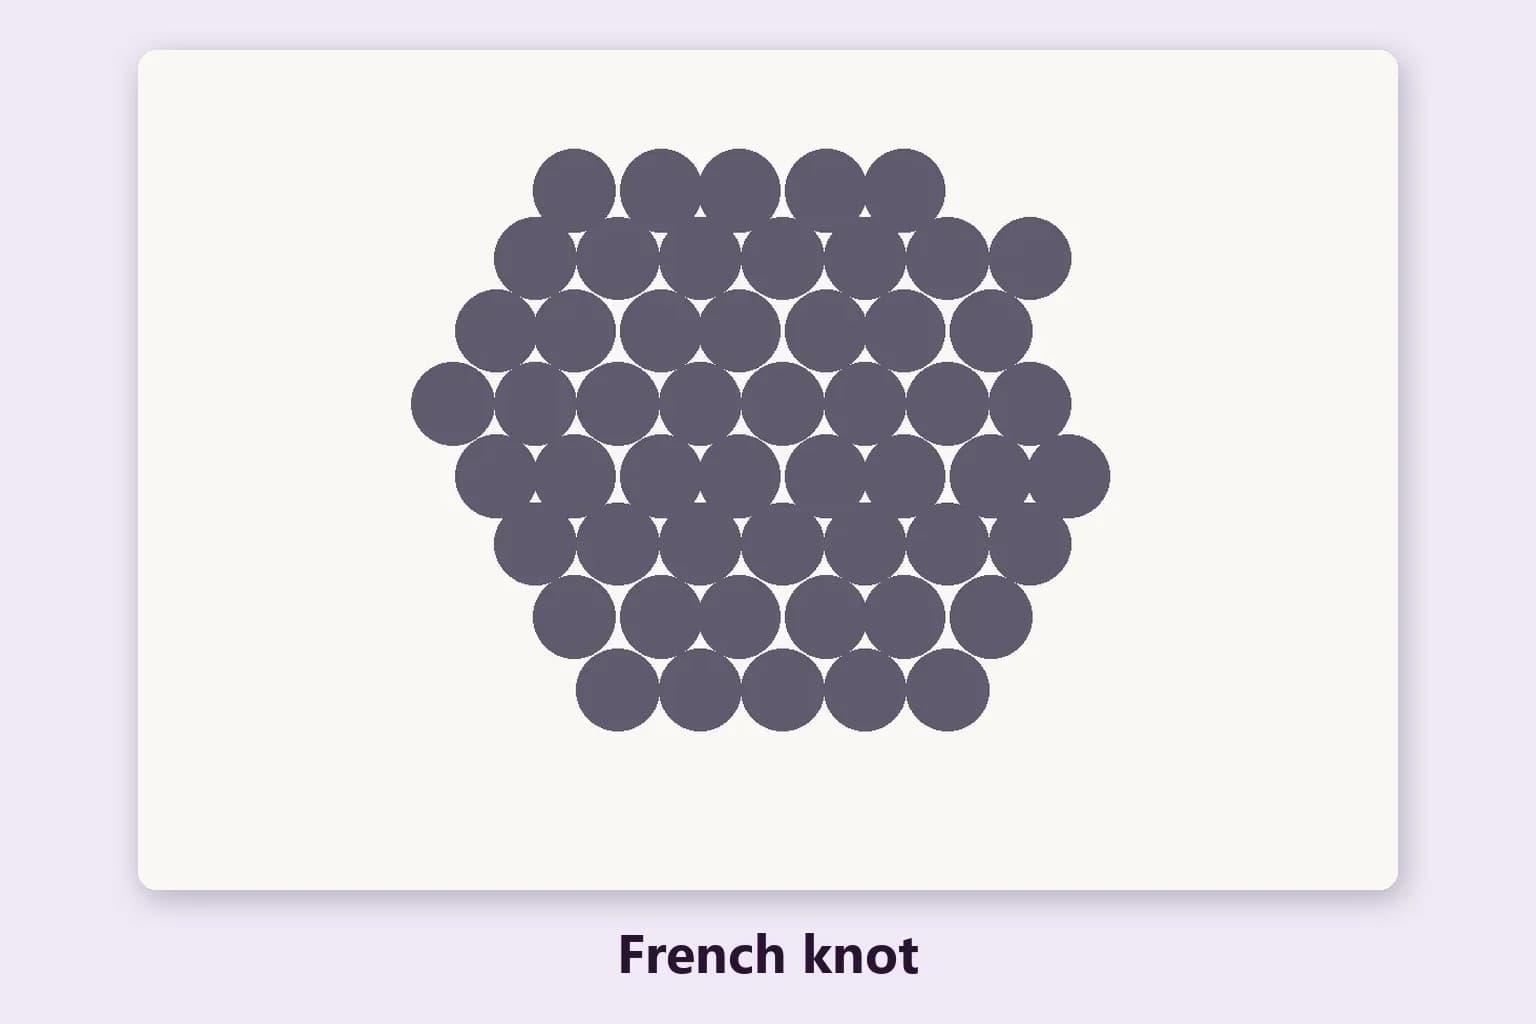
A French knot is a small, raised dot made by wrapping the thread around the needle and taking it back through the fabric. It is the embroidery answer to anything round and tiny: flower centers, eyes, berries, polka dots, sprinkles, snow, seeds.
Packed close together, knots also make a texture of their own. Think the fuzzy middle of a sunflower, a sheep’s fleece, moss on a rock or a poodle’s curls. They are slower than a fill, so they work best for small areas or as an accent on top of other stitches.
Bring the needle up through the fabric at the spot for the knot and pull the thread all the way through. Keep the fabric drum-tight in a hoop: you need both hands free.
Hold the thread taut with your non-needle hand and wrap it twice around the needle, close to the fabric. Two wraps is what our patterns use.
Tilt the needle upright and put the tip into the fabric just beside the exit point, a thread or two of fabric away. Not in the same hole: that is how knots pull through.
Keep tension on the working thread so the wraps sit tight against the fabric, then push the needle down and pull the thread through slowly. Let go only when the last of the thread slides through.
Place knots so they touch without crowding. For short hops you can carry the thread across the back; for longer jumps, end off and start again so the thread doesn’t show through light fabric.
Our patterns use 2 strands of six-strand floss and two wraps, which makes a neat medium dot. For a bigger knot, add strands rather than wraps: 3 to 6 strands with one or two wraps give a fat, round knot, while four or five wraps on a thin thread tend to make a loose, lumpy coil that topples over.
For tiny dots like highlights in an eye, try 1 strand with one wrap. The how many strands of floss guide compares strand counts across stitches. Whatever you choose, keep it the same within one area so the knots match.
The needle went down in the same hole it came up from, or the fabric weave is too loose. Go down a thread or two away from the exit point, and on loose-weave fabric move a little further.
Tension slipped as you pulled through. Keep holding the working thread taut until the very end, and slide the wraps down the needle so they sit on the fabric before you push down.
Wraps and tension vary from knot to knot. Use the same number of wraps and strands every time, and wrap at the same point on the needle. Uneven sizes usually settle down after a few dozen knots.
The thread twisted or caught on a loop at the back. Let the needle dangle now and then to untwist it, and check that nothing is caught under the fabric before you pull the last bit through.
The needle went down too far from where it came up, stretching the wraps. Keep the gap to a thread or two.
The thread goes around the needle in a figure eight instead of plain wraps. It makes a slightly taller, firmer knot that holds its shape well, and it is the classic stitch for candlewicking.
A French knot at the end of a straight tail: the needle goes down a short distance from where it came up. Perfect for flower stamens and spidery details.
Many wraps around a needle laid along the fabric make a coil instead of a dot. It is the knot for rosebuds and curled petals, and it is one of the 21 stitches in our editor.
French knots packed edge to edge fill a small area with bumpy texture. Mix two close shades for a speckled look.
When you turn a photo into a hand embroidery pattern, the generator gives small round dots French knots. In the stitching order they come after the fills and raised stitches and before the line stitches, so they sit on top and don’t get snagged or flattened while you work.
In the editor you can turn any small shape into French knots, or change a knot area to another stitch. The PDF includes this numbered diagram and the instructions above for every pattern that uses knots, with the thread and skeins each color needs. See where French knots would work in your own photo: make a hand embroidery pattern.
Next, try the knot’s partner in flower designs, the lazy daisy petal, or see all the embroidery stitches.
The needle is going back down in the same hole it came up from. Go down a thread or two beside it, and keep the wraps snug against the needle as you pull through.
Usually one to three times; two is a good default and what our patterns use. For a bigger knot, add strands instead of wraps, which keeps it round and stable.
Two strands make a neat medium dot. Use one for tiny details and three to six for bold, chunky knots. See how many strands of floss for other stitches.
The working thread lost tension while you pulled through. Hold it taut with your other hand until the very last of the thread passes through the fabric.
A French knot wraps the thread around the needle; a colonial knot wraps it in a figure eight. The colonial knot comes out a little taller and firmer.
It helps a lot. One hand holds the thread taut while the other works the needle, so the fabric needs to stay tight on its own.
For short hops, yes. For longer gaps, end off and restart: long carried threads can show through light fabric and pull the knots out of place.
Making and editing a pattern is free with a StitchThis account. Saving it or downloading the PDF uses a pattern credit ($5.99 per pattern, or 5 for $20). Embroidery is included in Maker ($5.99/month) and in Craft Unlimited, with unlimited patterns.