What is backstitch used for in embroidery?
Outlines, lettering, faces and fine details, anywhere you want a crisp solid line. It is also used to outline shapes before filling them.
Stitch guide · line stitch
Your outlines look jagged on the curves, the stitches come out every length, and little gaps break up what should be a clean line.
Backstitch is the simplest solid line in embroidery. Even lengths, shared holes and shorter stitches on curves make it look crisp. Here’s how, step by step.
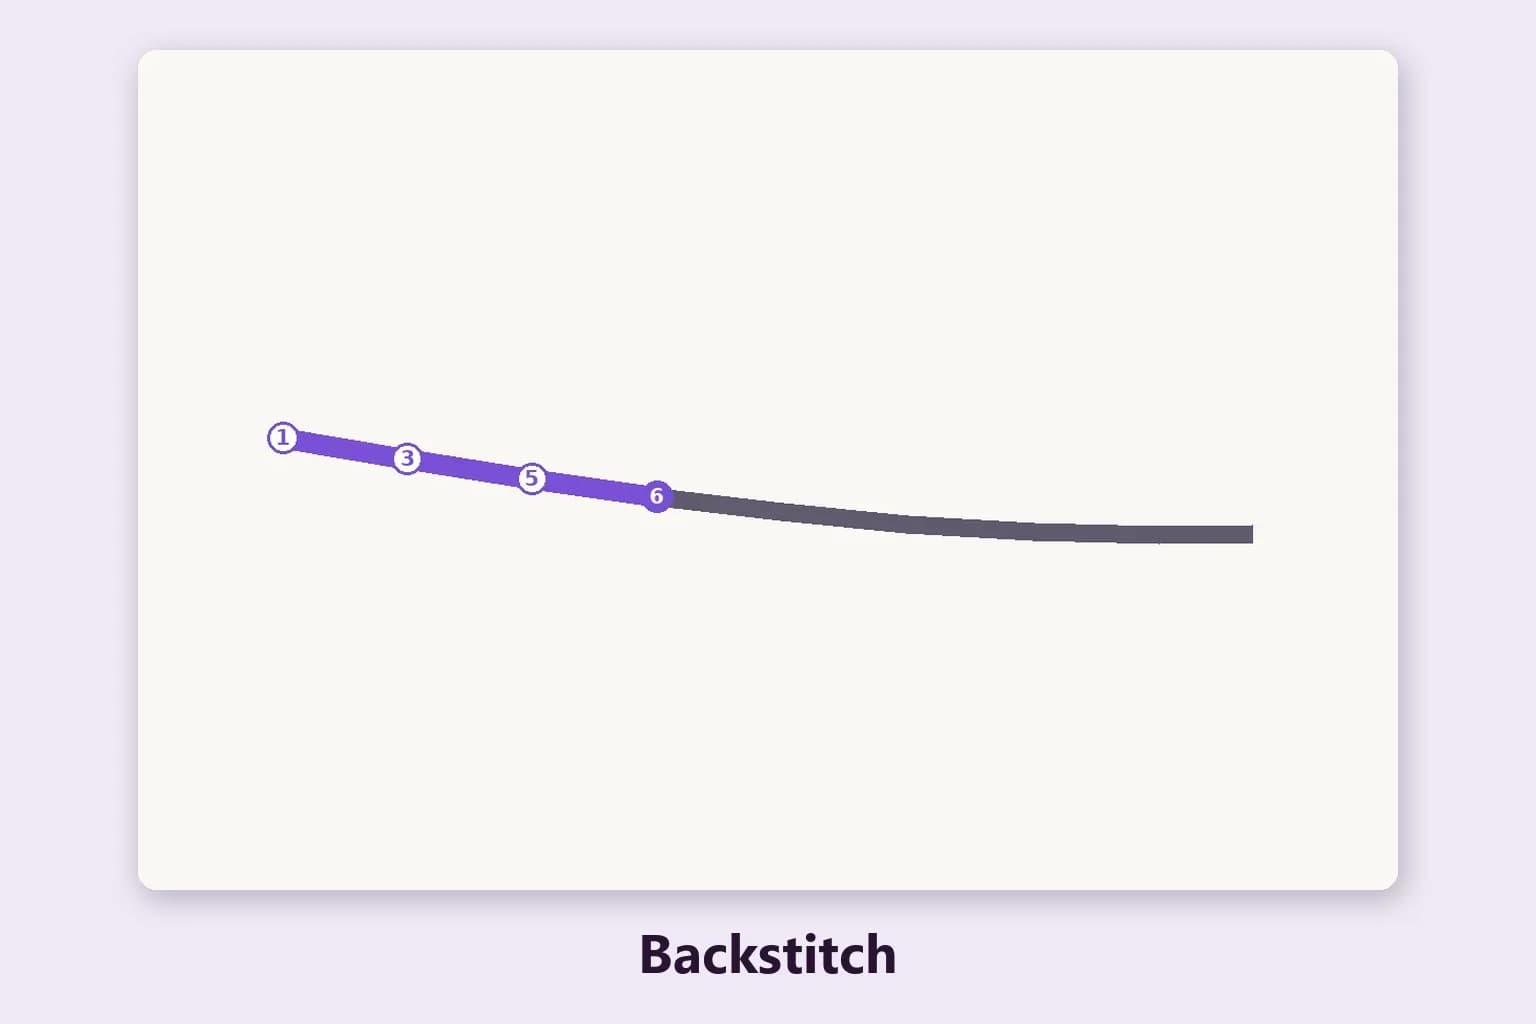
Backstitch makes a solid line of short, even stitches, each one going back to meet the end of the one before. It is the first line stitch most people learn and the one they keep using: outlines, lettering, faces, whiskers, stems, details on top of fills.
It draws a crisp, slightly broken line, which makes it ideal for text and fine detail. For a smoother, rope-like line on curves, stem stitch is often the better choice; for a line that sits under a fill, split stitch.
Bring the needle up one stitch length from the start of the line, not at the start itself.
Take the needle back to the beginning of the line and go down. That is your first stitch.
Bring the needle up one stitch length beyond the end of the first stitch.
Take the needle back and go down in the same hole where the last stitch ended, so the two share it and the line has no gaps.
Keep every stitch the same length on straight runs; about 3–4 mm is a common choice. Shorten them to 2–3 mm on curves and lettering.
Weave the thread under a few stitches on the back and trim it. Avoid knots that can show as bumps.
Use 1 strand for very fine details and small lettering, 2 strands for most outlines (what our patterns use), and 3 or more for bold lines that need to read from across the room. Thicker lines also cover small wobbles better.
Match the weight to the job: a heavy outline around a delicate fill can overpower it. See how many strands of floss for a stitch-by-stitch guide.
Mark small dots along the line before you start, or count fabric threads on an even weave. Consistency matters more than the exact length.
The needle isn’t going down in the hole the last stitch used. Share that hole exactly every time.
The stitches are too long to follow the bend. Shorten them on curves; tight curves may need stitches of 2 mm or less.
Long jumps between lines show through light fabric. End off and restart rather than carrying thread more than a short distance.
Change the strand count, not the stitch: one strand for delicate detail, two or three for a stronger line.
Work backstitch, then wrap a second thread over each stitch without going through the fabric. The line becomes a smooth, raised cord, great on curves and lettering.
Weave a second thread in and out under the stitches in waves, often in a contrasting color, for a decorative border.
| Stitch | Look | Best for |
|---|---|---|
| Backstitch | Crisp, even, slightly dotted line | Outlines, lettering, fine details |
| Split stitch | Smooth, chain-like line | Edges under satin or long and short, small fills |
| Stem stitch | Rope-like twist that bends easily | Stems, vines, flowing curves |
When you turn a photo into a hand embroidery pattern, the generator gives thin lines and stems stem stitch. In the editor you can switch any line to backstitch, add outlines to shapes, or draw your own backstitch lines for details like whiskers, lettering or a signature.
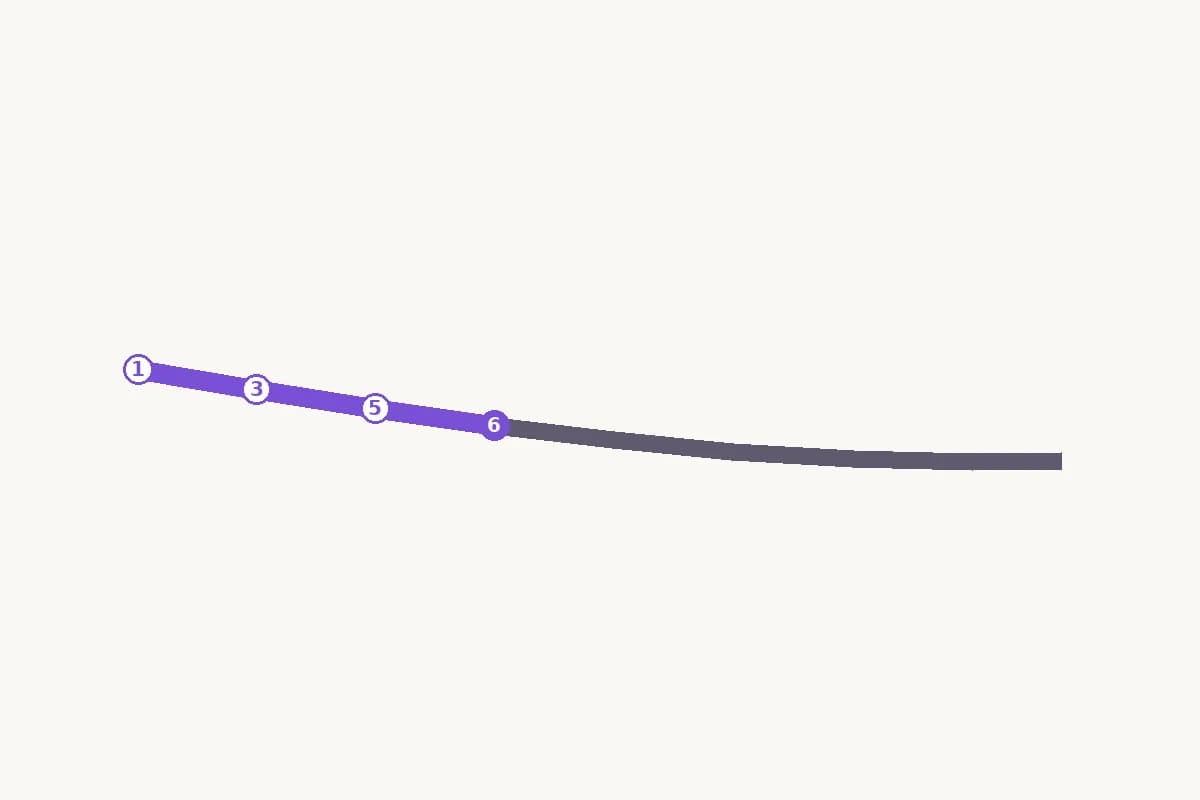
Line stitches come near the end of the stitching order, with outlines last, so they sit crisply on top of every fill. The PDF includes this numbered diagram whenever backstitch is used. Try it on your own picture: make a hand embroidery pattern.
Backstitch pairs with satin stitch and long and short stitch fills, and with French knots for dots. Or see all the embroidery stitches.
Outlines, lettering, faces and fine details, anywhere you want a crisp solid line. It is also used to outline shapes before filling them.
About 3–4 mm on straight lines is common, and shorter, 2–3 mm or less, on curves and small lettering. Keeping them even matters more than the exact length.
Use shorter stitches on the curve, or switch to stem stitch or whipped backstitch, which smooth out a bend.
One strand for fine detail, two for most outlines, three or more for bold lines. See how many strands of floss.
Backstitch lays stitches end to end in shared holes for a crisp line; stem stitch overlaps each stitch with the last for a twisted, rope-like line that follows curves better.
Backstitch with a second thread wrapped over each stitch without piercing the fabric. It turns a dotted line into a smooth cord.
Yes, it is the most common lettering stitch. Use short stitches and one or two strands for small text, and consider whipping it for a smoother finish.
Making and editing a pattern is free with a StitchThis account. Saving it or downloading the PDF uses a pattern credit ($5.99 per pattern, or 5 for $20). Embroidery is included in Maker ($5.99/month) and in Craft Unlimited, with unlimited patterns.