How to Convert an iPhone Photo into a Cross-Stitch Pattern
Turn an iPhone photo into a cross-stitch pattern right from your phone — no app, no Mac. The full workflow: pick the photo, prep it, crop, and chart it cleanly.
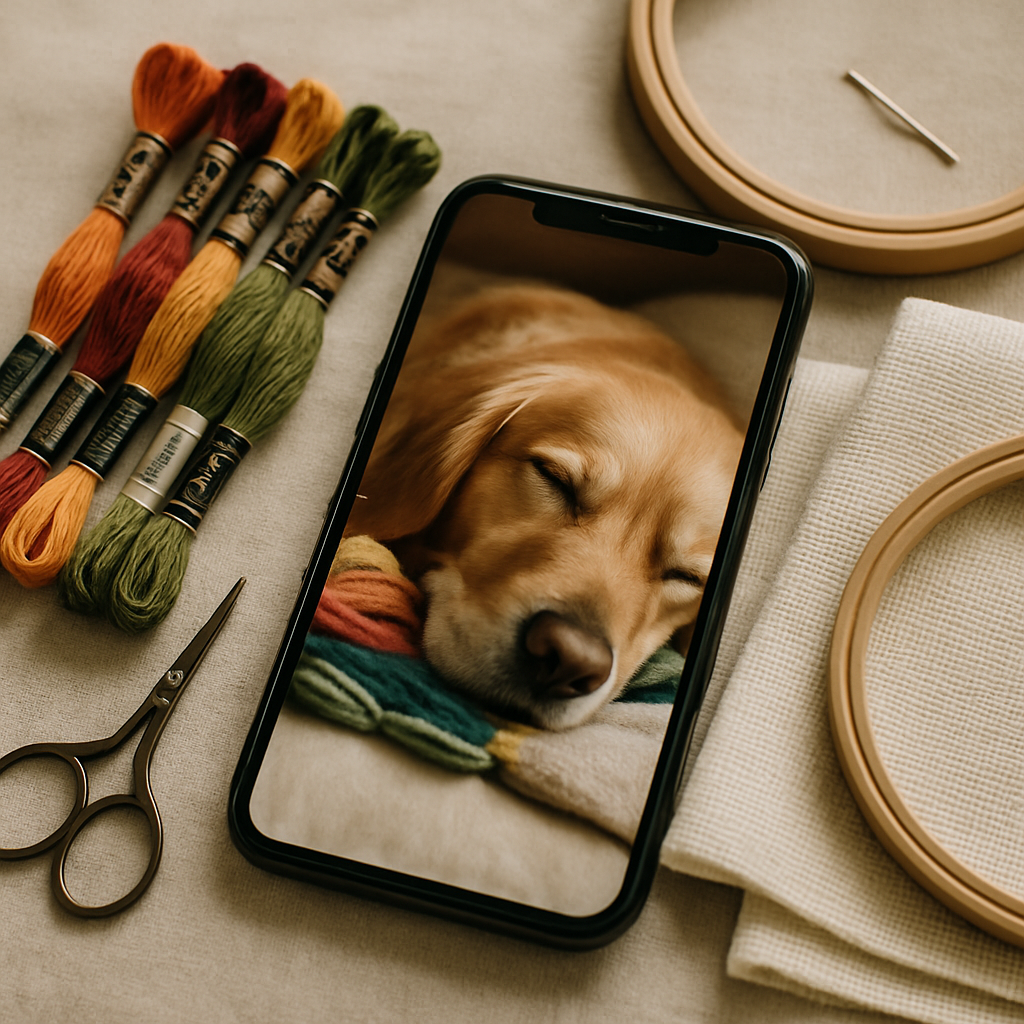
Your camera roll is the best source of cross-stitch patterns you'll ever have. The dog asleep in a sunbeam, your grandmother's hands, the view from the cabin, the kids before they got tall — thousands of high-resolution photos, already shot, already with you. The only thing standing between those photos and a stitchable chart is knowing how to convert them well. And here's the part that surprises people: you can do the whole thing on the iPhone itself. No Mac, no desktop software, no app to install.
This guide walks the complete workflow, from picking the right photo to holding a finished chart — and, just as importantly, how to avoid the pitfalls that turn a great photo into an unstitchable mess. Phone photos are wonderful raw material, but they have a few quirks worth handling deliberately.
Why iPhone photos make great source material (and where they trip you up)
 Modern iPhone photos have real advantages as cross-stitch sources:
- High resolution. More detail to work with means a sharper chart, especially in faces and focal points.
- Good exposure. Computational photography means most shots are well-lit and balanced straight out of the camera.
- Always with you. The best source photo is often one you already took on a whim.
But the same phone that takes a gorgeous photo also creates a few predictable problems for pattern conversion:
- Busy backgrounds. A cluttered room behind your subject becomes a wall of distracting, confetti-prone detail in the chart.
- The subject is too small in frame. Phone photos are often wide; your actual subject might be a small part of the image, losing detail when charted.
- Soft or low-contrast lighting. Flat lighting that looks fine on screen can leave a portrait muddy once reduced to floss colors.
- Too much fine detail. A photo's infinite gradients can explode into confetti if the conversion doesn't manage them.
Every one of these is fixable — and most of them get fixed before the photo becomes a pattern. That's the key idea behind the whole workflow.
The full workflow, start to finish (all on your phone)
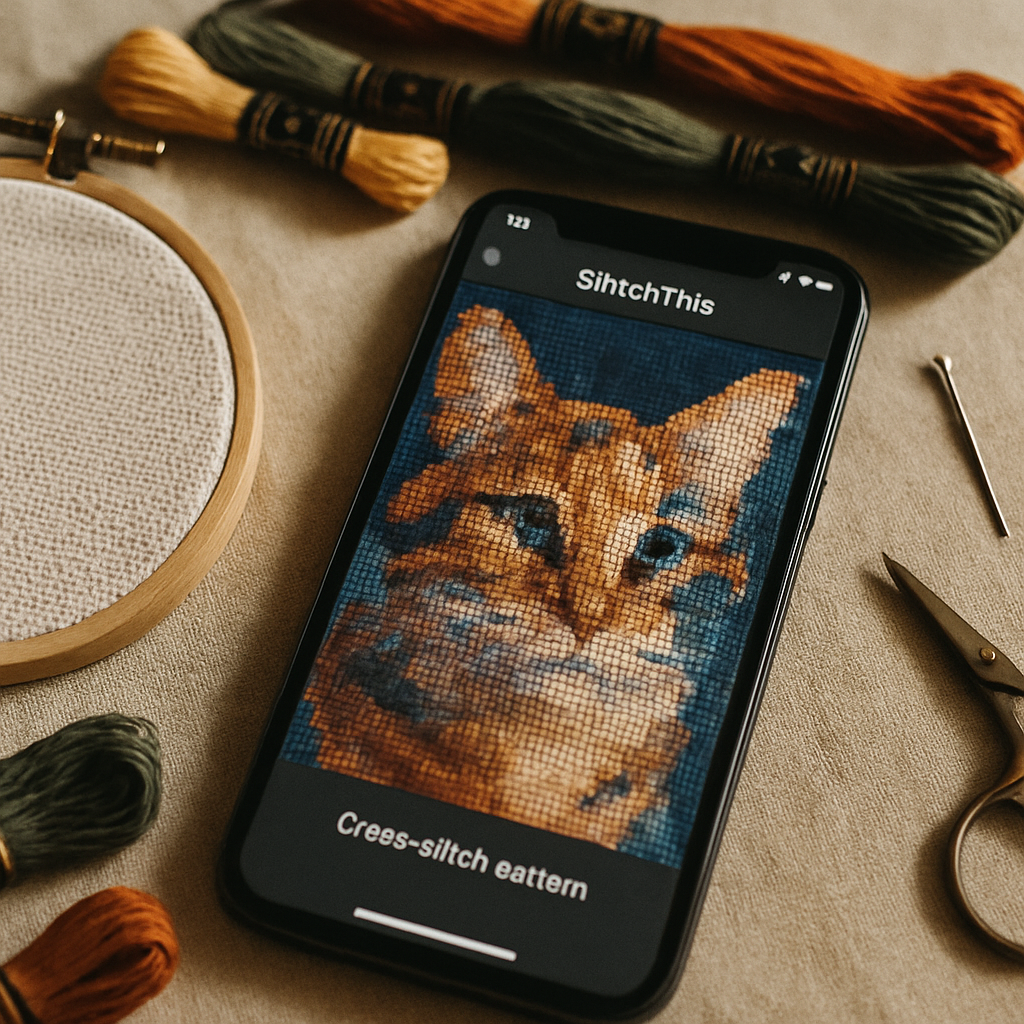 Here's how to take a photo from your camera roll to a clean, stitchable chart using StitchThis — entirely in your phone's browser.
Step 1 — Pick the right photo
Conversion quality is downstream of photo quality. Before anything else, choose well:
What makes a good iPhone photo for cross-stitch
- Clear focal subject that fills a good portion of the frame
- Good contrast between subject and background
- Sharp focus on the part that matters (the face, the eyes)
- Even, flattering light — soft daylight beats harsh shadow
- Higher resolution — use the original, not a screenshot or a heavily-compressed share
If you're shooting specifically for a pattern, our guide on photographing your pet for cross-stitch applies to any portrait subject — the same principles make people, places, and pets convert beautifully.
Step 2 — Upload it in the browser (no app needed)
Open StitchThis in Safari (or any mobile browser), start a new pattern, and upload straight from your camera roll. There's nothing to install. iPhone photos in Apple's HEIC format upload fine, and because the tool is browser-based, the same project is waiting for you later on your iPad or laptop if you'd rather finish there. (More on why browser-based wins below — it's the same reason a Mac pattern maker works best in the browser.)
Step 3 — Prep the source image (this is where the magic is)
This is the step that separates a good chart from a disappointing one, and it's where the most common iPhone-photo problems get solved. StitchThis's image tools work on your source photo — refining the picture before it's ever charted into stitches — so you're improving the raw material, not faking the finished result. The pattern itself is always charted faithfully from the prepared image.
The Advanced toolkit gives you:
- Background removal or simplification — drop a cluttered room behind your subject so the chart spends its detail on what matters instead of background noise. This single fix solves the #1 iPhone-photo problem.
- Style options — keep the Original look, or apply a Painterly softening that smooths messy gradients into more stitchable shapes, plus bolder 2D Icon and Cartoon treatments for graphic results.
- Two-photo merge — combine two photos (blend or connect them), perfect for putting two pets, two people, or a subject and a setting into one piece.
The mental model that keeps you on the right side of honesty: advanced tools help you build the perfect source image; the pattern is then charted faithfully from it. What you prep is what gets charted — the stitches aren't invented.
Step 4 — Crop and choose your shape
Fix the "subject too small" problem by cropping tight to what matters. Drag the crop box with your finger (the whole interface is touch-native) and pick a shape — rectangle for a classic frame, circle or oval for an ornament-style finish. The crop also sets your aspect ratio, so you're composing the finished piece right here.
Step 5 — Set the complexity and let StitchSense do its work
Choose how detailed or minimal the pattern should be with a single Quality setting — from Simplified (fewest threads, bold blocks) through Balanced and Detailed to Full Color (maximum threads, photorealistic). Underneath, StitchSense keeps detail sharp where your eye lands — the face, the focal subject — while calming busy areas, so you get richness where it counts without the confetti chaos everywhere else. For a portrait off your phone, Balanced is usually the sweet spot; the tool even flags that Full Color can introduce confetti and suits experienced stitchers.
Step 6 — Pick your floss brand and palette
Set your colors from multi-brand floss palettes — DMC, Anchor, Cosmo, Gamma, Madeira, or Metro — so the legend matches the thread you already own. (Choosing colors thoughtfully matters more than people expect; our forthcoming palette guide goes deep, and the DMC vs Anchor guide covers brand differences.)
Step 7 — Generate, then stitch from your phone
Generate, and you get a real chart: stitch count, color count, a full symbol legend, and a clean PDF export. The pattern opens in a built-in viewer with a stitch tracker — tap each square as you complete it and your progress saves between sessions, so your phone becomes the pattern and the place you track it. Need to clean up a stray stitch in a background corner? The viewer's editing tools (fill a region, replace a color, paint individual stitches) let you tidy it without re-generating.
Try the whole workflow free You can convert a photo into a clean, stitchable pattern on StitchThis free Start on your iPhone, pick your complexity, choose your floss brand, and stitch straight from the built-in tracker. Try StitchThis free →
iPhone-specific tips most guides miss
 A few things unique to converting from an iPhone:
- Use the original, not a screenshot. Screenshots are lower-resolution and re-compressed. Share or upload the original photo for the most detail.
- HEIC is fine. You don't need to convert Apple's HEIC format to JPEG first — upload it as-is.
- Portrait-mode photos are great sources. The depth blur already separates your subject from the background, which makes background removal cleaner and the focal subject pop.
- Live Photos: upload the still frame. The video portion isn't used, but the key photo converts like any other.
- Mind the size cap. The free tier charts up to 200×200 stitches — plenty for a framed portrait (200×200 on 14-count is about 14 inches). For a larger finished piece, a higher stitch count is available on paid plans. See Aida 14 vs 16 vs 18 to plan finished size.
Why browser-based beats a phone app
You'll find iPhone apps that convert photos to patterns, but a browser-based tool has real advantages for this exact task:
- Nothing to install or update, and no app-store gatekeeping.
- One project, every device. Start on your phone in line at the coffee shop, refine on your iPad on the couch, stitch from whichever screen is nearest — it's the same project.
- No platform lock-in. It works the same on iPhone, Android, Mac, and Windows, because it runs in the browser. (This is the whole argument of our Mac pattern maker guide, and it applies just as well to iOS.)
Briefly: dedicated charting software is powerful but desktop-bound, and most phone apps are either generators with little control or trackers with no creation tools. A browser-based studio gives you the full workflow on the device already in your hand.
Frequently asked questions
Can I turn an iPhone photo into a cross-stitch pattern without a computer? Yes. A browser-based tool like StitchThis runs entirely in Safari on the iPhone — upload from your camera roll, crop, set the detail and palette, and generate a chart, all on the phone. You can even stitch from it using the built-in tracker.
Do I need to convert HEIC photos to JPEG first? No. You can upload iPhone HEIC photos directly. Just use the original file rather than a screenshot for the best resolution.
Why does my photo turn into a messy, confetti-heavy pattern? Usually a busy background and uncontrolled detail. Remove or simplify the background and choose a simpler complexity setting before charting. StitchSense also keeps detail on the focal subject while calming noisy areas. See our confetti survival guide.
What's the best photo to use for a cross-stitch pattern? One with a clear focal subject that fills the frame, good contrast, sharp focus on the important part, and even lighting. Higher resolution is better. Portrait-mode photos work especially well because the background is already separated.
Is the pattern AI-generated? No. The chart is rendered faithfully from your prepared photo — every stitch corresponds to the source image. Advanced tools help you clean up the source before charting; the stitching itself is not invented.
Is it really free? You can create patterns free. The Advanced source-image toolkit is on paid plans. The core photo-to-pattern conversion, the viewer, and the tracker are available on the free tier.
Can I make a pattern from two photos? Yes — the two-photo merge blends or connects two images into one source, ideal for two pets or two people in a single piece.
From camera roll to hoop
The barrier to turning your photos into cross-stitch was never the photos — it's been the conversion. Now that whole process fits in your hand: pick the shot, clean up the source image, crop it tight, dial in the detail, choose your floss, and generate a faithful chart you can stitch from the same screen.
The next time a photo makes you think that would make a beautiful piece, you don't have to wait until you're at a computer. Try StitchThis free right from your phone — From pattern creation through floss tracking to in-browser viewing and editing — plus a community of stitchers around it — StitchThis is the whole pipeline in one place. no AI in the stitching, just a clean chart made faithfully from a photo you love. Start converting →
How StitchThis converts your photo into a faithful pattern
Photo-to-pattern conversion is exactly where most tools fall down — they treat every pixel the same, scatter the detail evenly across the image, and the result is a chart that looks correct in thumbnail and unrecognisable on the fabric. StitchThis is built around the opposite principle: StitchSense preserves detail where the eye reads expression (faces, eyes, focal subjects) and simplifies the areas where the eye doesn't notice. Confetti drops dramatically, the focal subject stays recognisable, and the chart respects what stitching can actually render on your fabric count.
The same generator hands you the rest of the project at once. The legend renders in any of six floss brands — DMC, Anchor, Cosmo, Gamma, Madeira, Metro — so the pattern arrives in the brand you actually own. The floss stash tracker can be imported via CSV from an existing spreadsheet or by photographing your skein organiser, and the pattern then filters its shopping list against what's in your floss drawer. The in-browser viewer doubles as a chart editor — paint, fill, change-all colour replacement, half-stitch and backstitch tools — so you can fine-tune cells around the eyes or other focal areas before you commit a single stitch. Studio-tier users add FORGE batch generation for several variations from the same source image. Everything exports to a clean PDF when you're done. From pattern creation through floss tracking to in-browser viewing and editing — plus a community of stitchers around it — StitchThis is the whole pipeline in one place.
Try StitchThis free — upload a photo, pick a brand, see your pattern in a few minutes.
Related reading on StitchThis:
Ready to turn your photo into a cross-stitch pattern?
Try StitchThis freeTwo patterns per month. No card required.