
How long should satin stitches be?
Keep each under about 1 cm (3/8 in). Longer stitches snag and sag; split the shape or use long and short stitch instead.
Stitch guide · fill stitch
Your satin stitch has fabric peeking through, the edges wobble, the long stitches snag on everything, and the fabric puckers around the shape.
Satin stitch is simple stitches laid side by side. The smooth finish comes from a few habits: keep stitches short, start in the middle, and give the edge something to sit on. Here’s how, step by step.
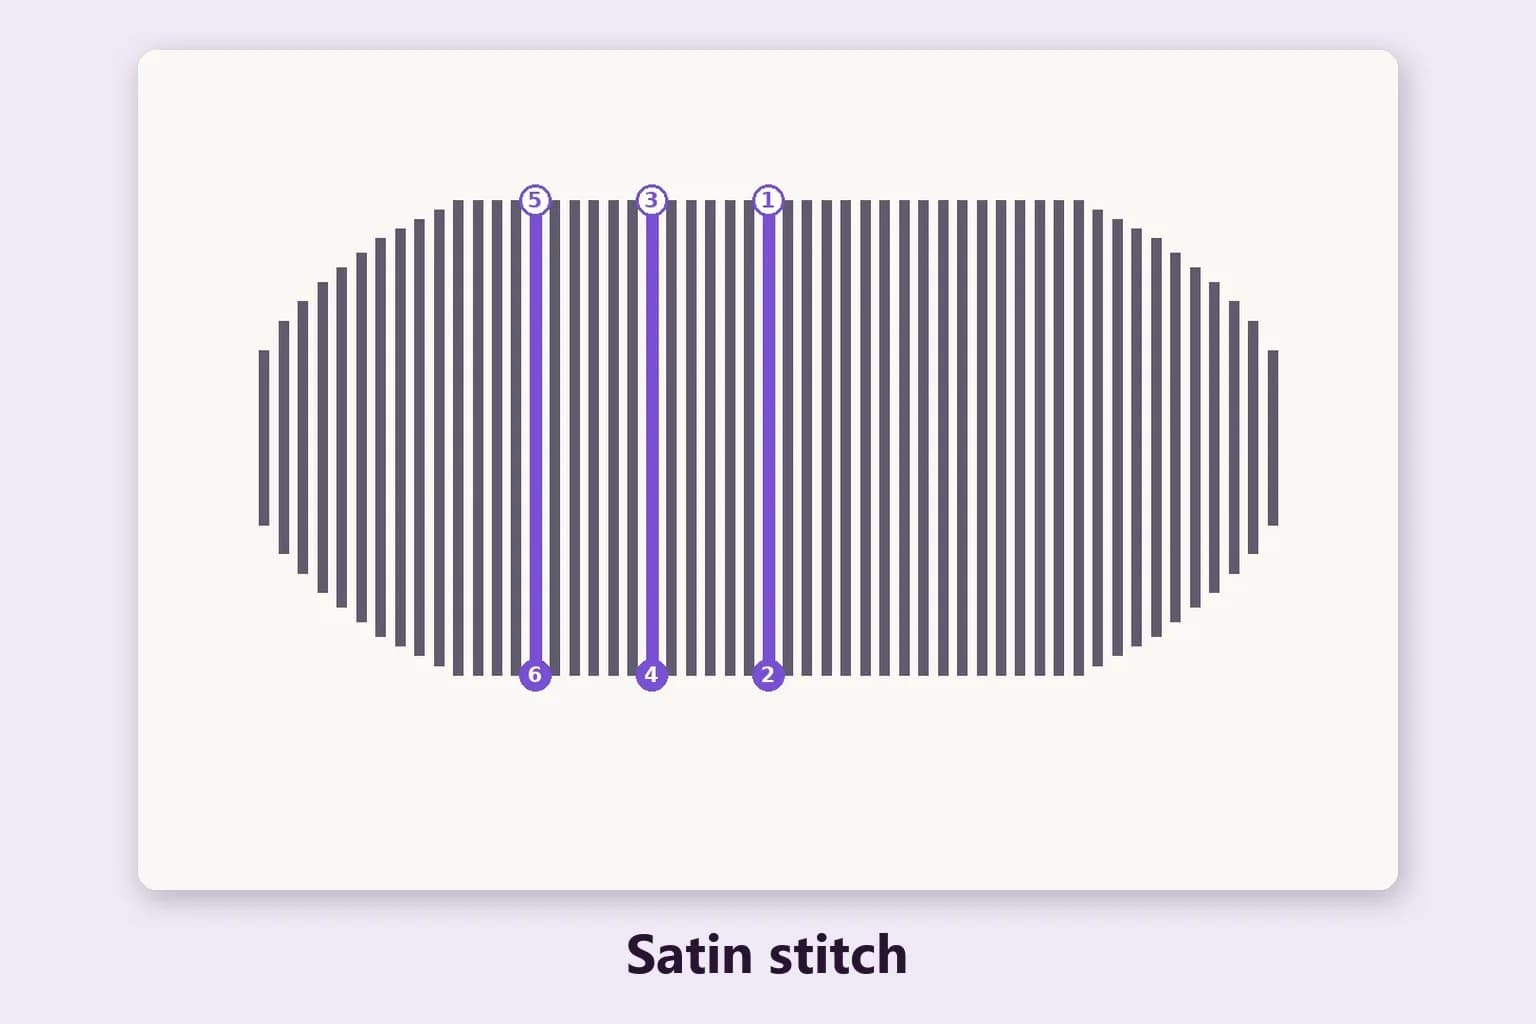
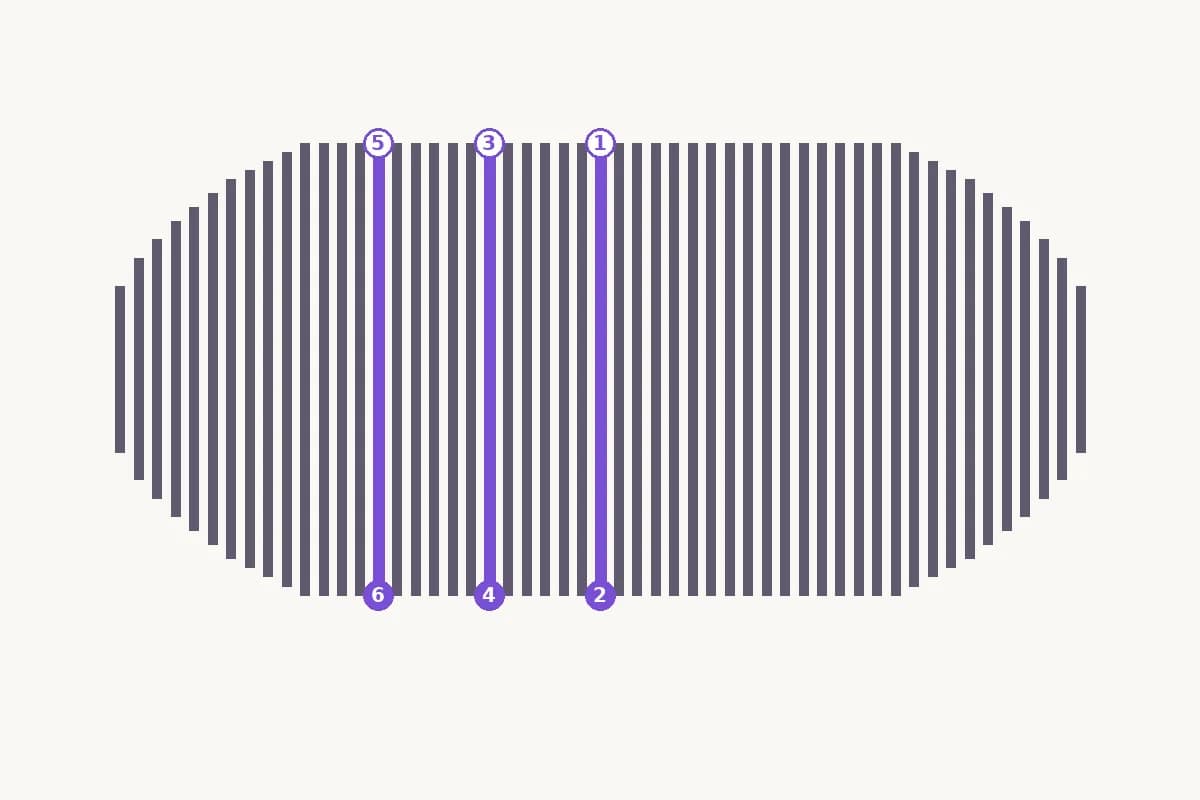
Satin stitch fills a shape with straight stitches laid side by side, so close together that no fabric shows. Because all the threads run the same way, the surface catches the light like satin: smooth, glossy and solid.
It is the go-to fill for small and narrow shapes: petals, leaves, berries, letters, monograms, little hearts. The limit is width. A satin stitch longer than about 1 cm (3/8 in) sags and snags, so wider shapes are better split into sections or worked in long and short stitch, which covers any width.
Work split stitch or backstitch around the edge. The satin stitches will cover it, and it gives them a firm, slightly raised edge to tuck against.
Make the first stitch across the widest part of the shape, at the angle the pattern shows. Starting in the middle keeps the angle from drifting as you go.
Come up on one edge and go down on the opposite edge, just outside the outline so it is covered.
Come up next to the first stitch on the same side and go down next to it on the other. Stitches should touch, parallel, without overlapping or leaving fabric between them.
Work toward one end of the shape, then return to the middle and fill the other half the same way.
If any stitch is longer than about 1 cm (3/8 in), split the shape into sections with a line across it, or switch to long and short stitch.
Our patterns use 2 strands of six-strand floss, which covers well and still lies smooth. One strand gives the finest sheen on very small shapes but takes longer to cover; three strands cover faster on medium shapes but can look ridged.
Whatever the count, separate the strands one at a time and put them back together so they lie flat side by side. Strands that twist around each other look dull and lumpy. More on choosing a count in how many strands of floss.
Stitches are too far apart or too thin. Bring each stitch up right against the last one, add a strand, or choose fabric in a color close to the thread.
The stitches are too long. Keep them under about 1 cm (3/8 in), split wide shapes into sections, or use long and short stitch.
The fabric was loose in the hoop or the stitches were pulled tight. Keep the fabric drum-tight, let each stitch lie flat on the surface, and back thin fabric with a stabilizer.
Come up and go down exactly on the line, outside a split stitch outline. The outline gives the needle a ridge to tuck against, which makes the edge crisp.
Stitches fan out as the shape curves. Start in the middle, check every few stitches against the direction line, and on curves slip in a slightly shorter stitch to turn the angle gradually.
Let the needle dangle to untwist the thread every few stitches, and stroke the strands flat with the needle as you pull each stitch through.
Fill the shape first with running stitches, seed stitches or a layer of satin at right angles, then satin over the top. The padding lifts the shape off the fabric for a raised, sculpted look: lovely on berries, letters and petals.
The outline under the edge, as in step one above. It is the simplest way to clean edges and a good habit for every satin shape.
Rows of satin where each row starts between the stitches of the row above. It shades colors a little like long and short stitch, with a more striped look.
Slanted satin stitches from alternating edges that cross down the middle, made for leaves. It is one of the 21 stitches in our editor.
When you turn a photo into a hand embroidery pattern, the generator gives narrower fills satin stitch and wide areas long and short. Every fill gets a stitch direction, and the PDF’s color and stitch guide marks it with direction ticks, so you know which way to lay the stitches before you start.
In the editor you can turn the direction of any shape on a clock-face wheel, switch a shape between satin, long and short or any of the other stitches, and preview the result in a realistic thread view. While you stitch, the tracker’s part card shows the direction too. See which parts of your photo would be satin: make a hand embroidery pattern.
Satin pairs naturally with French knots for flower centers and backstitch for outlines. Or browse all the embroidery stitches.
Keep each under about 1 cm (3/8 in). Longer stitches snag and sag; split the shape or use long and short stitch instead.
The stitches are too far apart or the thread is too thin. Lay each stitch right against the last, or add a strand.
Two strands is a good default and what our patterns use. One gives the smoothest sheen on tiny shapes; three covers faster on larger ones.
Outline the shape in split stitch first and bring the needle up and down just outside it. The outline gives the edge a crisp ridge.
Loose fabric in the hoop or stitches pulled too tight. Keep the fabric drum-tight and let each stitch lie flat without tugging.
Satin stitch worked over a layer of padding stitches, so the shape stands up off the fabric. It suits small raised shapes like berries and letters.
In the middle, at the widest point. It keeps the angle steady; fill to one tip, then come back and fill the other half.
Making and editing a pattern is free with a StitchThis account. Saving it or downloading the PDF uses a pattern credit ($5.99 per pattern, or 5 for $20). Embroidery is included in Maker ($5.99/month) and in Craft Unlimited, with unlimited patterns.