Can you embroider any photo?
Almost, but some work far better. A clear subject, good contrast and a simple background translate well; busy scenes, tiny details and dark or blurry photos are hard to read in thread.
Guide · photo embroidery
You have a photo you love, a pet, a bouquet, a face, and no idea how to get from all those pixels to a few colors of floss and a set of stitches that still look like it.
This guide shows how embroiderers translate a photo: choose the picture, simplify it, give each area the right stitch and direction, transfer it and stitch back to front. Or let the generator do the drafting for you.
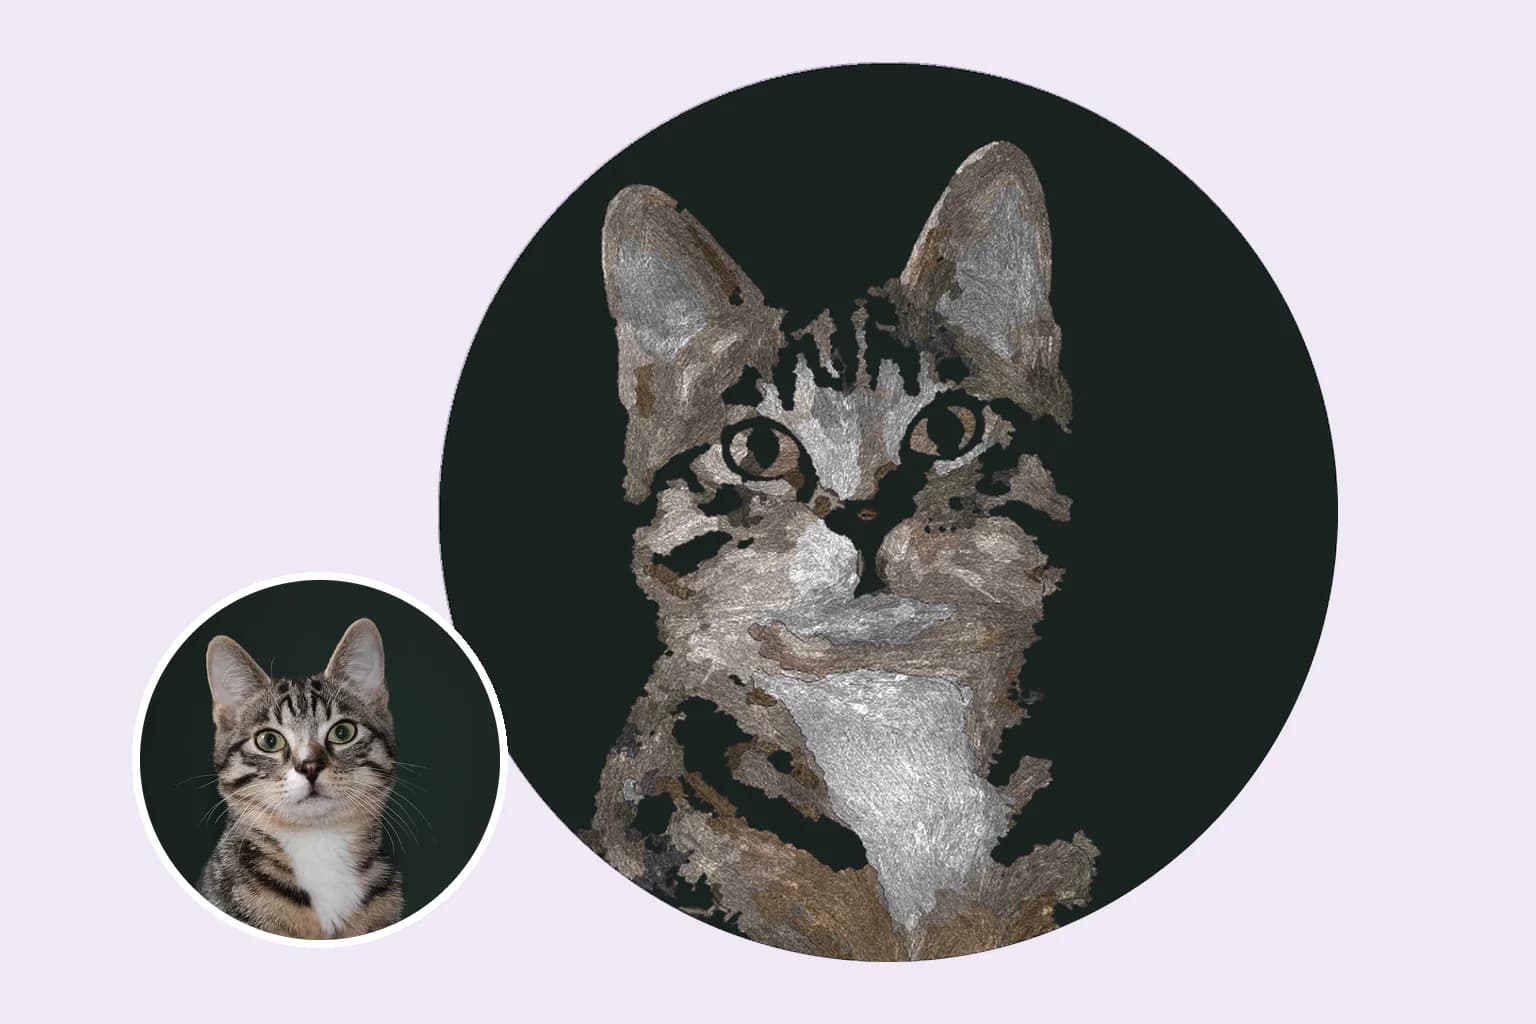
A photo has millions of colors and endless detail; a hoop holds a few colors and shapes you can fill with a needle. The pictures that survive that translation have one clear subject, light that shows its form, and a background that is plain or easy to leave out.
Squint at the photo, or blur it, and look for the big areas of color: the light side of a petal, the shadow under a chin. Those become your shapes. Most hoop-sized photo pieces work with somewhere between a handful and a couple of dozen thread colors; more than that and the steps between shades get too fine to see in floss.
Choose each thread by holding the skein against the photo, or use a palette that is already matched to real floss. Keep at least one clear dark and one clear light: contrast does more for a likeness than an exact match does.
Wide areas and soft blends, like petals, fur, skin and sky, use long and short stitch. Staggered rows let one shade feather into the next, which is what people mean by thread painting.
Satin stitch gives a glossy, solid fill for leaves, eyes and small shapes. Keep each stitch under about 1 cm (3/8 in) or it snags; split longer areas or use long and short.
Stems, whiskers, hair strands and outlines use stem stitch for a rope-like curve or backstitch for a crisp line.
Eye highlights, flower centers, berries and textured fluff are French knots. Use more strands rather than more wraps for bigger knots.
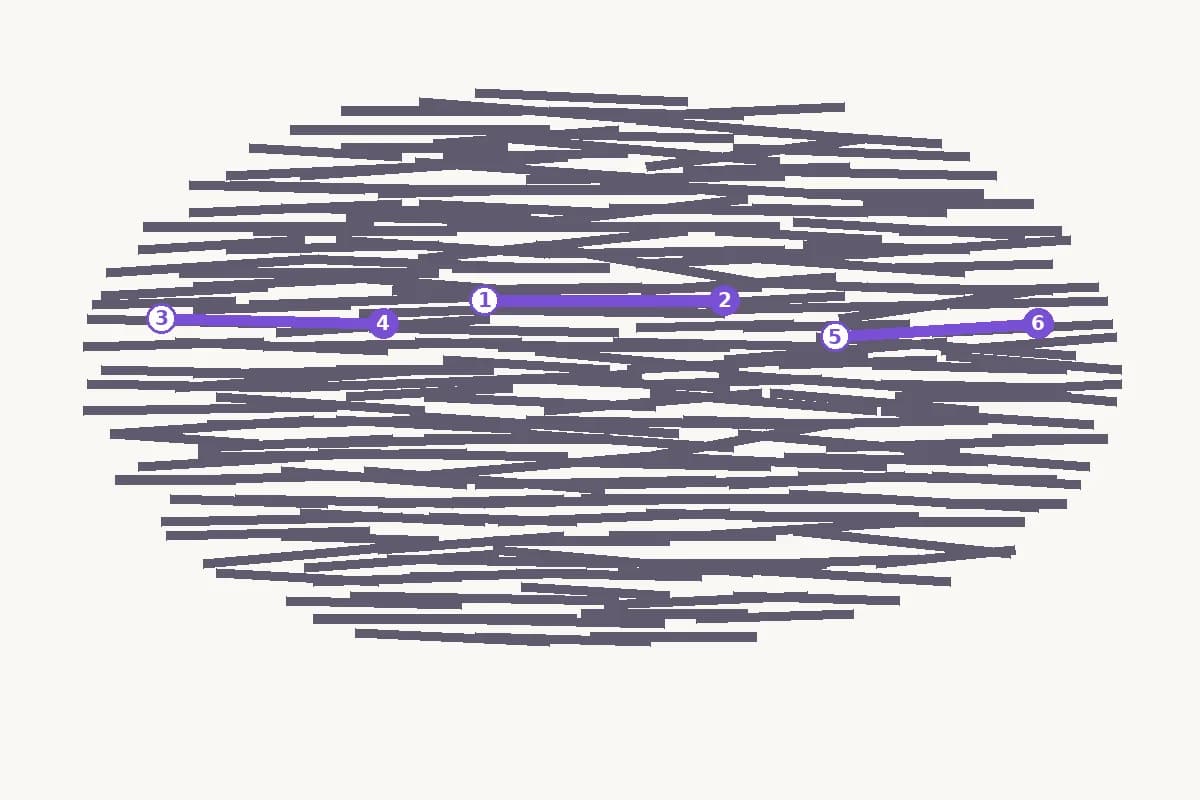
Floss is shiny along its length, so the angle you lay it at changes how light hits it. Stitches that follow the form, fanning out from a flower’s center, running the way fur grows, curving around a cheek, make a flat piece of fabric look rounded. Stitches all at one angle look flat, even in perfect colors.
Before you stitch, draw a few light direction lines inside each shape on your transfer. Turn the angle gradually across a shape rather than all at once.
Trace onto light fabric with a water-soluble or heat-erasable pen, use an iron-on transfer pen with a mirrored print, or use stick-and-stitch stabilizer for dark fabric and clothing. The transfer guide compares every method.
Tightly woven cotton or linen, drum-tight in a hoop a little bigger than the design. Take it out of the hoop when you stop for the day to avoid hoop marks.
Two strands of six-strand floss is a good default for fills; one or two for fine lines and detail, more for bold knots. See how many strands of floss.
Work what is furthest away first: the large background fills, then smaller fills on top, then raised stitches and knots, and outlines and fine lines last so they sit cleanly over everything else.
Everything above is what our generator does for you. Make a hand embroidery pattern from your photo and it simplifies the colors to real DMC (or another brand’s) threads, splits the picture into shapes, chooses long and short, satin, stem stitch, lazy daisy or French knots for each one, and gives every fill a direction.
You can change any of it in the editor, and the PDF includes the stitching order, how to do each stitch, skein counts and a full-size transfer, plus a mirrored one for iron-on pens. While you stitch, the tracker shows each part next to the same spot in your photo, so you can match the texture as you go.
Almost, but some work far better. A clear subject, good contrast and a simple background translate well; busy scenes, tiny details and dark or blurry photos are hard to read in thread.
Mostly long and short stitch, often called thread painting, because its staggered rows blend one shade into the next. Satin, stem stitch and French knots fill in the smaller details.
It depends on the subject and size. A simple flower may need five or six; a pet portrait with soft fur may need a couple of dozen. Fewer, well-chosen colors with good contrast usually read better than many close ones.
Two strands is a good default for fills and blending. Use one for very fine detail and three or more for bold lines and big knots.
Follow the form: out from a flower’s center, along the way fur or hair grows, around curves. Change the angle gradually across a shape.
Long and short stitch takes some practice, so start with a small, simple subject like a single flower. A ready pattern from the embroidery pattern generator takes the guesswork out of colors, stitches and directions.
Making and editing a pattern is free with a StitchThis account. Saving it or downloading the PDF uses a pattern credit ($5.99 per pattern, or 5 for $20). Embroidery is included in Maker ($5.99/month) and in Craft Unlimited, with unlimited patterns.