
What is the difference between lazy daisy and chain stitch?
They are the same loop. A lazy daisy is a single detached loop held by a tiny stitch; chain stitch links the loops into a line, each one holding the one before.
Stitch guide · detached stitch
Your petals come out floppy or skinny, the loops twist, and the flower ends up lopsided with petals pointing every which way.
A lazy daisy is one loop held down by one tiny stitch. Get the loop snug and plan where the petals go, and you have a flower in minutes. Here’s each step and the fix for each common problem.
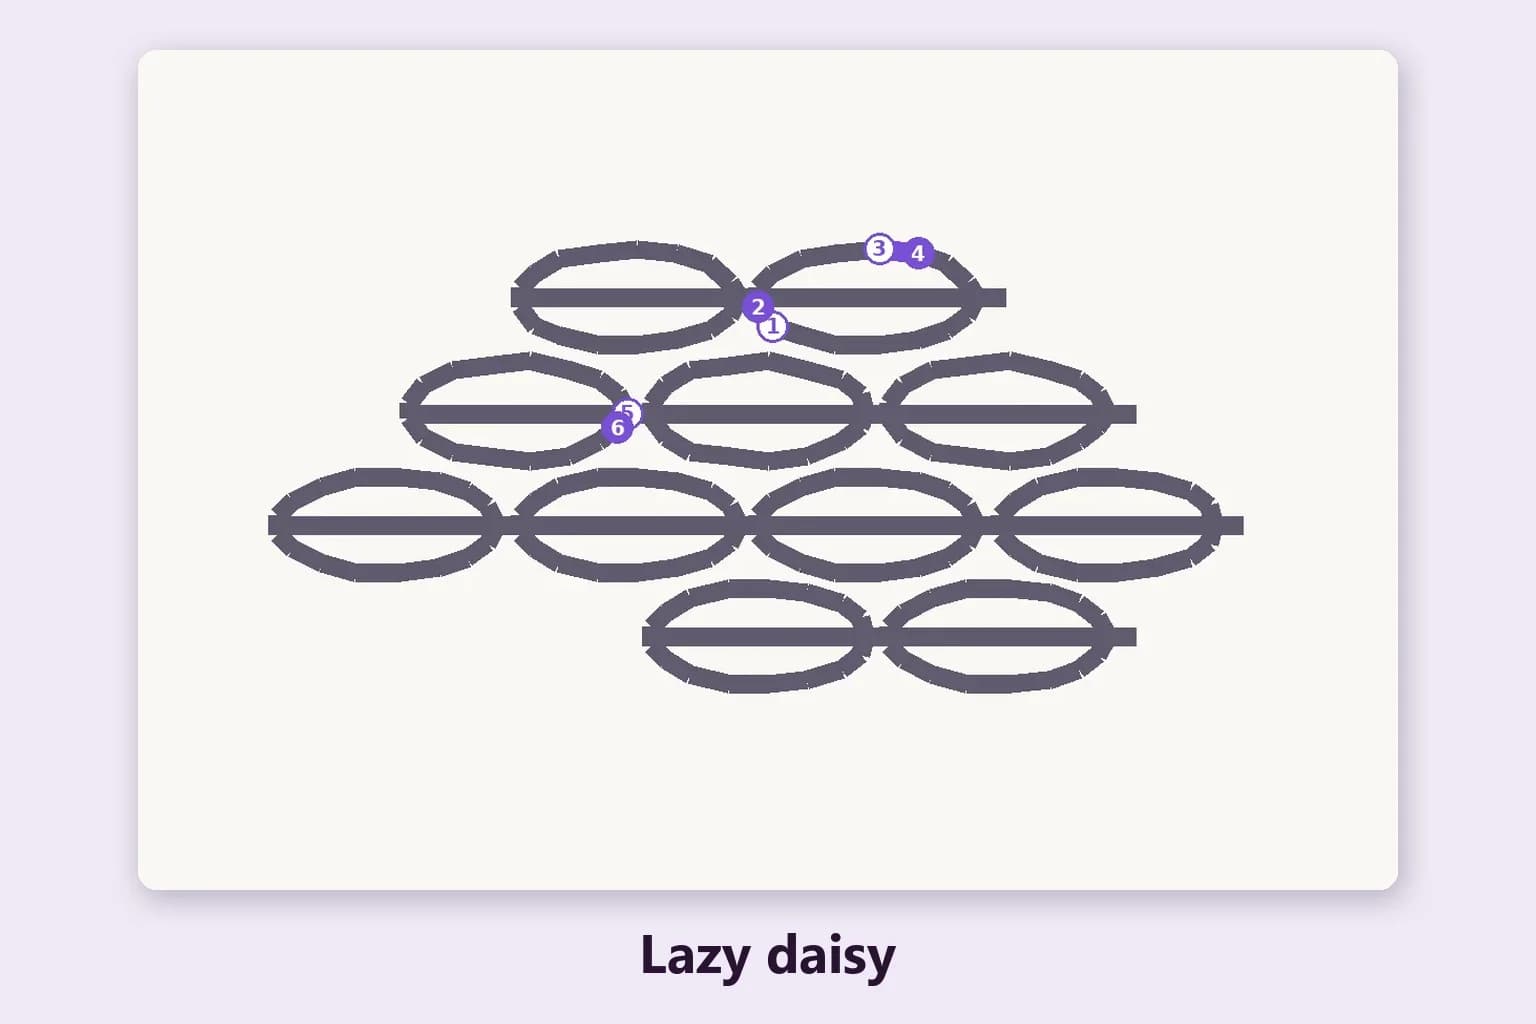
Lazy daisy, also called detached chain stitch, is a single loop of thread held at its tip by a tiny stitch. On its own it looks like a petal or a leaf; worked in a ring around a center it makes a daisy, which is where the name comes from.
It is one of the fastest ways to make a flower look like a flower. Use it for small petals, leaves along a vine, tiny buds, wheat ears and feathery sprigs. Larger petals look better filled with satin stitch, because a big loop gets floppy.
Dot the center and the tip of each petal on the fabric, or follow your transfer. Even spacing is what makes a flower look tidy.
Bring the needle up at the base of the petal, the end nearest the flower’s center.
Put the needle back into the same hole (or a single fabric thread beside it) and pull until a loop of thread is left on the surface.
Bring the needle up at the tip of the petal with the loop under the needle, then gently pull the thread so the loop closes into a petal shape. Snug, not tight.
Go down just over the loop at the tip with a tiny stitch to hold it in place.
Make petals at 12, 6, 3 and 9 o’clock first, then fill in between. Finish the center with a few French knots.
Our patterns use 2 strands of six-strand floss, which gives a clear, open petal. Use 3 or 4 strands for plump petals that fill in more of the loop, or 1 strand for tiny sprigs and leaves on a small piece.
Keep the strands lying flat side by side so the loop looks smooth rather than twisted: separate them one at a time before threading. The how many strands of floss guide has the full picture.
The thread wasn’t pulled snug before the anchoring stitch. Ease the loop down until it hugs the needle at the tip, then catch it.
The loop was pulled too tight. Stop pulling as soon as the loop closes into a petal; it should still be open in the middle.
The thread twisted as you stitched. Let the needle dangle to untwist it, and smooth the strands flat with your thumb as the loop forms.
The fabric hole stretched. Go down a single fabric thread beside the exit point instead of in exactly the same hole.
Mark the tips before you start and work the four opposite petals first. Keep every petal the same length so the flower stays round.
It is too long. Keep it tiny for a round tip, or lengthen it on purpose to make a pointed leaf.
Larger loops in green along a stem, with a slightly longer anchoring stitch to make a pointed tip. Pair them with a backstitch or stem stitch vine.
Add a straight stitch inside each loop, in the same or a contrasting color, to fill the petal.
A smaller loop worked inside a larger one, often in a second color, for a bolder two-tone petal.
The same loop, linked: each new loop holds the one before it. Rows of chain make a bold line or fill an area. It is one of the 21 stitches in our editor.
When you turn a photo into a hand embroidery pattern, the generator gives small petal-shaped bits lazy daisy. In the stitching order they come with the raised stitches, on top of the fills and before the knots and outlines.
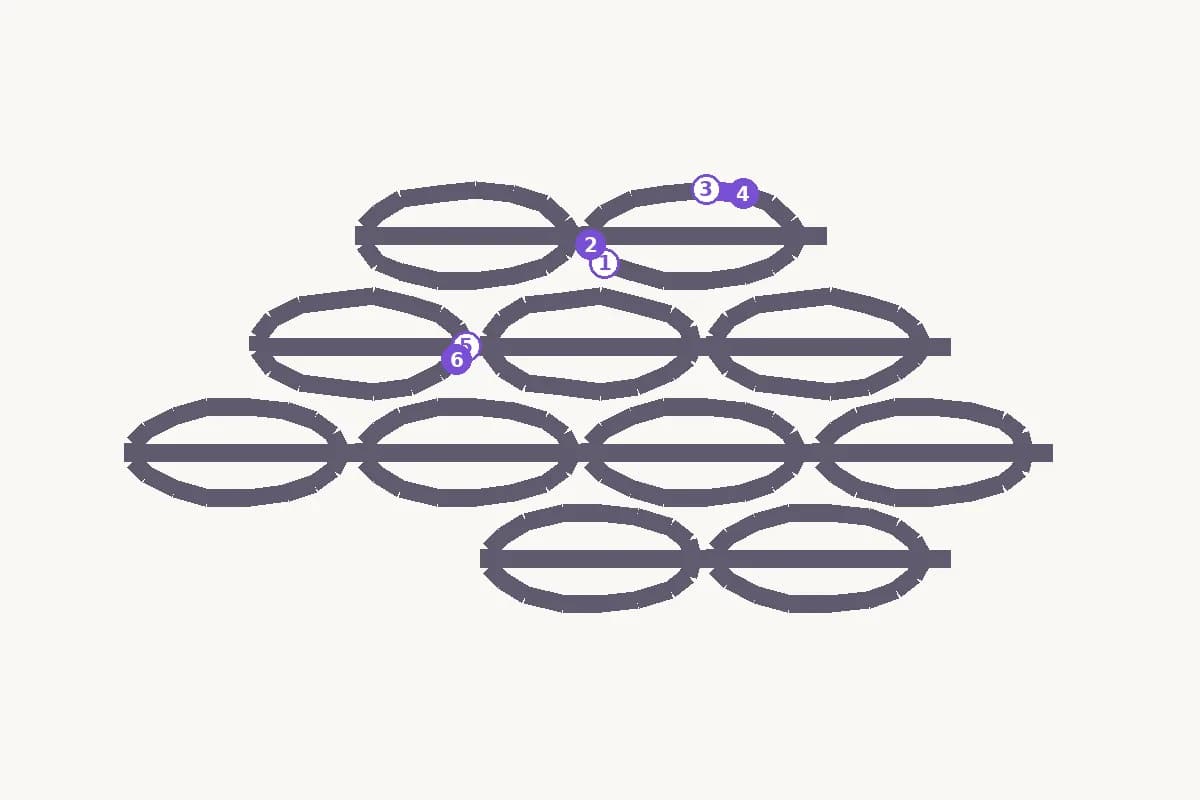
In the editor you can change any shape to lazy daisy (or a daisy shape to satin, if you’d rather) and see the thread texture in the realistic Stitches view. The PDF includes this numbered diagram for any pattern that uses it. See where petals land in your own picture: make a hand embroidery pattern.
For bigger petals, try satin stitch; for flower centers, French knots. Or see all the embroidery stitches.
They are the same loop. A lazy daisy is a single detached loop held by a tiny stitch; chain stitch links the loops into a line, each one holding the one before.
It wasn’t pulled snug before you made the anchoring stitch. Ease the loop down until it lies flat around the needle at the tip, then catch it.
Two strands for a clear, open petal, which is what our patterns use. Use three or four for plump petals, one for tiny sprigs.
Because one stitch makes a whole petal, so a flower takes only a handful of stitches. Worked in a ring, the petals make a daisy.
Mark the center and petal tips first, keep every petal the same length, and work the four opposite petals before filling the gaps.
Yes. Make the loop a little larger in green and lengthen the anchoring stitch to give the leaf a point.
Making and editing a pattern is free with a StitchThis account. Saving it or downloading the PDF uses a pattern credit ($5.99 per pattern, or 5 for $20). Embroidery is included in Maker ($5.99/month) and in Craft Unlimited, with unlimited patterns.