Cross-Stitch Patterns for Children: Beginner Designs Kids Actually Love
Easy cross-stitch patterns and designs for children — how to pick kid-friendly projects, the right supplies, and how to let kids design their own pattern from scratch.
Cross stitch is one of the best crafts you can hand a kid. It's screen-free, it builds fine motor skills and patience, the counting sneaks in a little math, and — the part that hooks them — they end up holding something they made. That pride is real, and it's the thing that turns a one-afternoon experiment into a hobby they come back to.
The trick is matching the project to the child. Hand a seven-year-old a 40-color photo-realistic portrait and you'll both be in tears by the second evening. Kids need designs built differently: bold, simple, fast, and forgiving. This guide covers how to choose (or make) patterns children actually enjoy, the supplies that set them up to succeed, and the part that makes kids light up most — letting them design their own pattern from scratch. You can try StitchThis free to make one together.
What makes a cross-stitch pattern kid-friendly
 A good children's pattern is almost the opposite of an impressive adult one. You want:
- Few colors. Three to eight, not thirty. Fewer thread changes, less confusion, faster wins.
- Big, bold shapes. A chunky heart, a smiling sun, a simple animal. No tiny detail, no single scattered stitches.
- No fractional stitches or backstitch (at first). Just full crosses. Save the fancy stuff for later.
- A short finish. Kids need to complete something while they still care. A project that finishes in a sitting or two beats an ambitious one that never gets done.
- A low fabric count. Bigger holes are easier for small hands and developing eyes — more on that below.
Essentially: minimize confetti, minimize colors, maximize size-per-stitch. If you want the why behind the confetti point, our confetti survival guide explains what makes a pattern miserable — and kid patterns should have none of it.
The right supplies for small hands
 Setting a child up well matters as much as the pattern:
- A blunt tapestry needle. Rounded tip, big eye — safer and easier to thread. Never a sharp needle for a beginner.
- Low-count fabric. Start with 6- or 11-count Aida, or plastic canvas / binca for younger kids — the large holes are forgiving. You can graduate to 14-count as they get comfortable; our Aida 14 vs 16 vs 18 guide covers the trade-offs.
- A hoop sized to little hands, and pre-cut lengths of floss so they're not wrestling a whole skein.
- A simple, well-labeled chart with clear symbols. Our pattern symbols guide is a gentle primer if they're learning to read one.
A quick word on ages, loosely: around 5–7, plastic canvas or binca with a blunt needle and supervision; 8 and up, most kids can manage 11- or 14-count Aida. Every child is different — follow their patience, not the calendar.
The magic move: let kids design their own pattern
 Here's where cross stitch goes from "a craft my kid tolerates" to "a craft my kid begs to do." Most children's cross-stitch advice stops at which patterns to buy. But the thing kids love most isn't stitching someone else's chart — it's stitching their own creation.
StitchThis's freehand designer makes that genuinely possible, even for a child. It's an intuitive, accessible grid where you build a pattern by drawing it: tap to place stitches, fill an area with a color, drop in simple shapes, and add their name with the text tool. It works the way a kid expects a drawing tool to work — color in the squares, watch a picture appear. There's no jargon, no complicated setup, just "draw your thing."
Why this is such a win:
- They own the whole process. A child designs a rainbow, a dinosaur, a heart with their initials — then stitches the exact thing they invented. The sense of authorship is enormous.
- It's collaborative. Sit together, let them call the shapes and colors while you guide the stitchability. It becomes a shared project, not a chore you assigned.
- It teaches design naturally. Picking a few colors, keeping shapes bold, seeing what reads on a grid — kids absorb real design instincts without a lesson.
A child who drew their own dinosaur pattern and then stitched it is a child who will want to make the next one. That's the participation loop, and it's the strongest reason to put the freehand tool in front of them.
Turn their drawing into a stitchable pattern
If your kid would rather draw on paper (most will), you can meet them there too. Snap a photo of their crayon masterpiece and StitchThis's image-to-pattern engine charts it into a real, stitchable pattern. The AI works on the source drawing to clean it up; the pattern is charted faithfully from it, so what they stitch is genuinely their drawing — wobbles and all, which is exactly the charm. (We go deep on this in making a pattern from an illustration — the child's-drawing keepsake is one of the most loved projects there is.)
To keep a kid's drawing easy enough to actually finish:
- Use the advanced image tools to simplify a busy background or boost the bold shapes, so the chart stays clean.
- Lean on the quality presets (Simplified or Balanced) to keep the color count low — a handful of colors, not forty.
- Choose a small finished size on a low-count fabric so it's a project, not a marathon.
Good first-project ideas for kids
If you want a running start, these are reliably kid-pleasing:
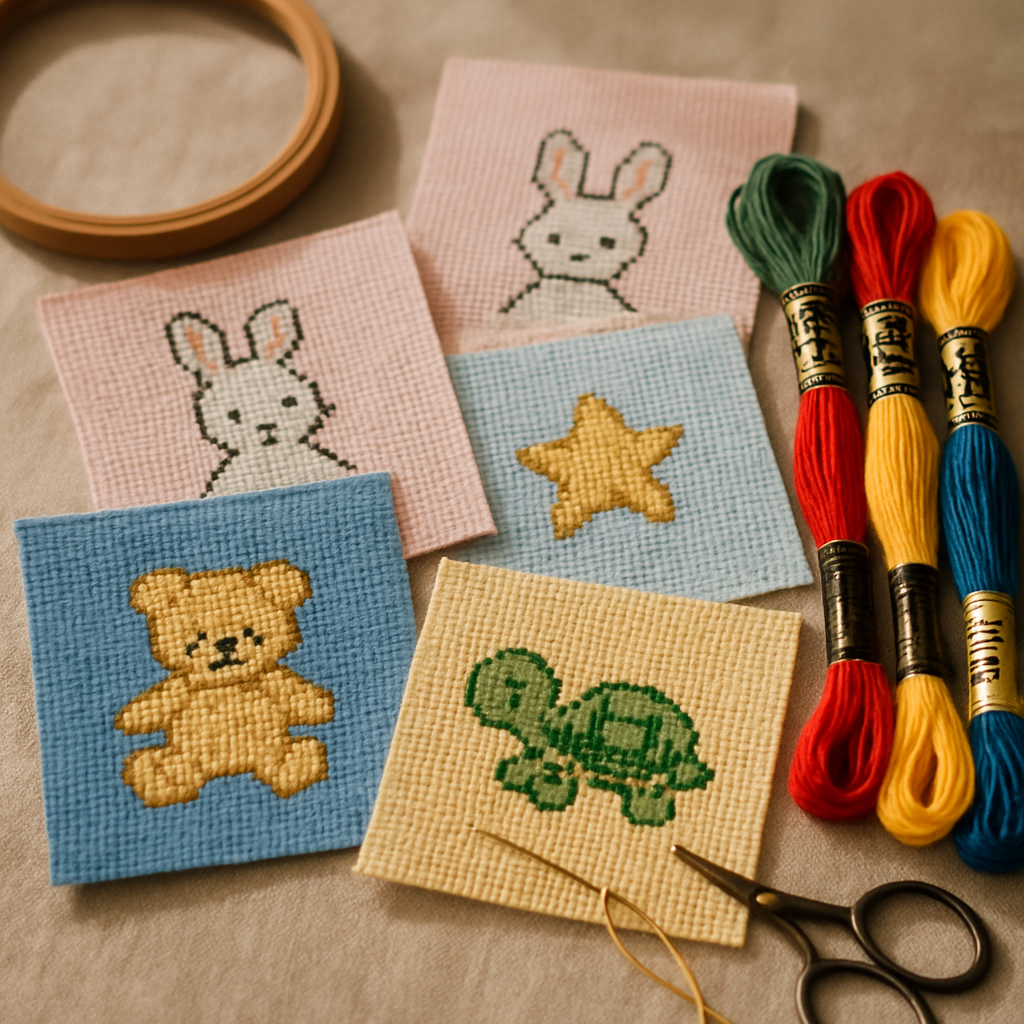
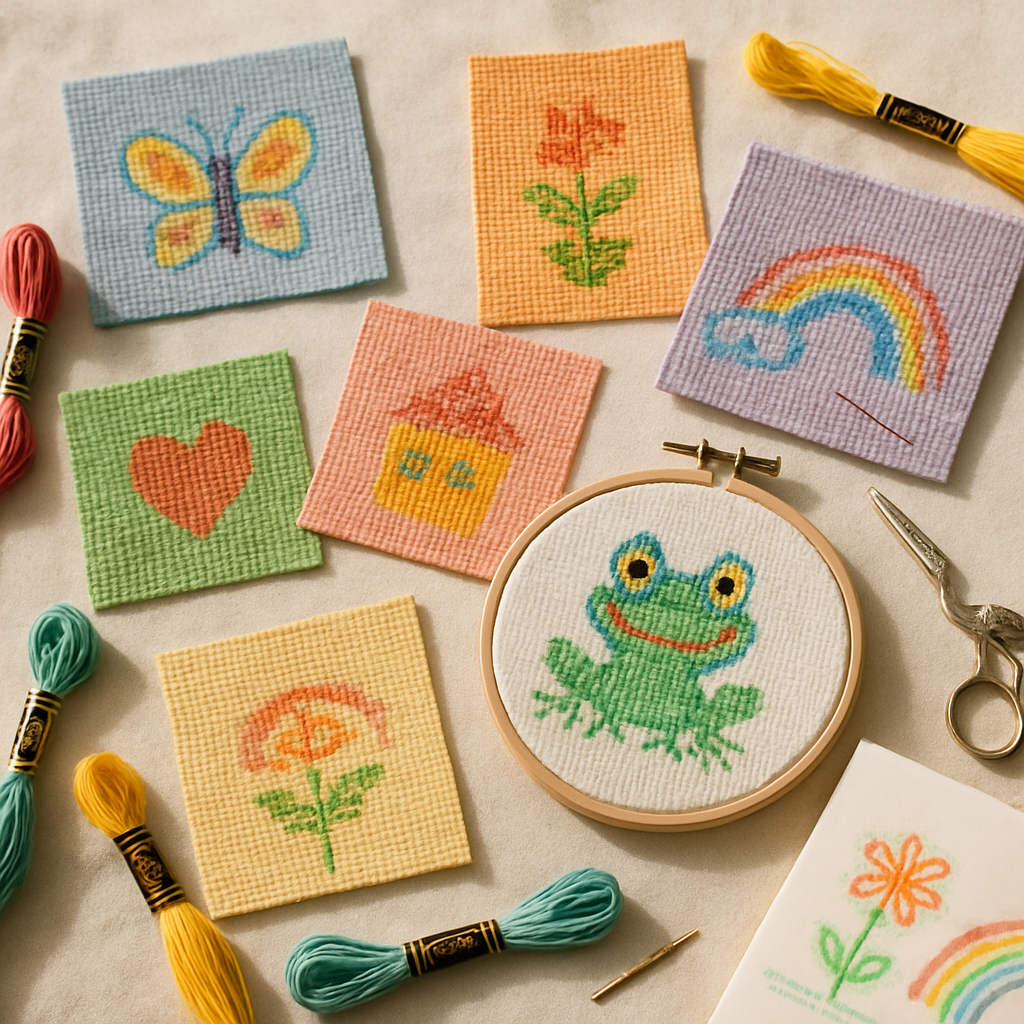
- A heart or star in one or two colors — the classic first project.
- A simple letter or their initials — personal and quick.
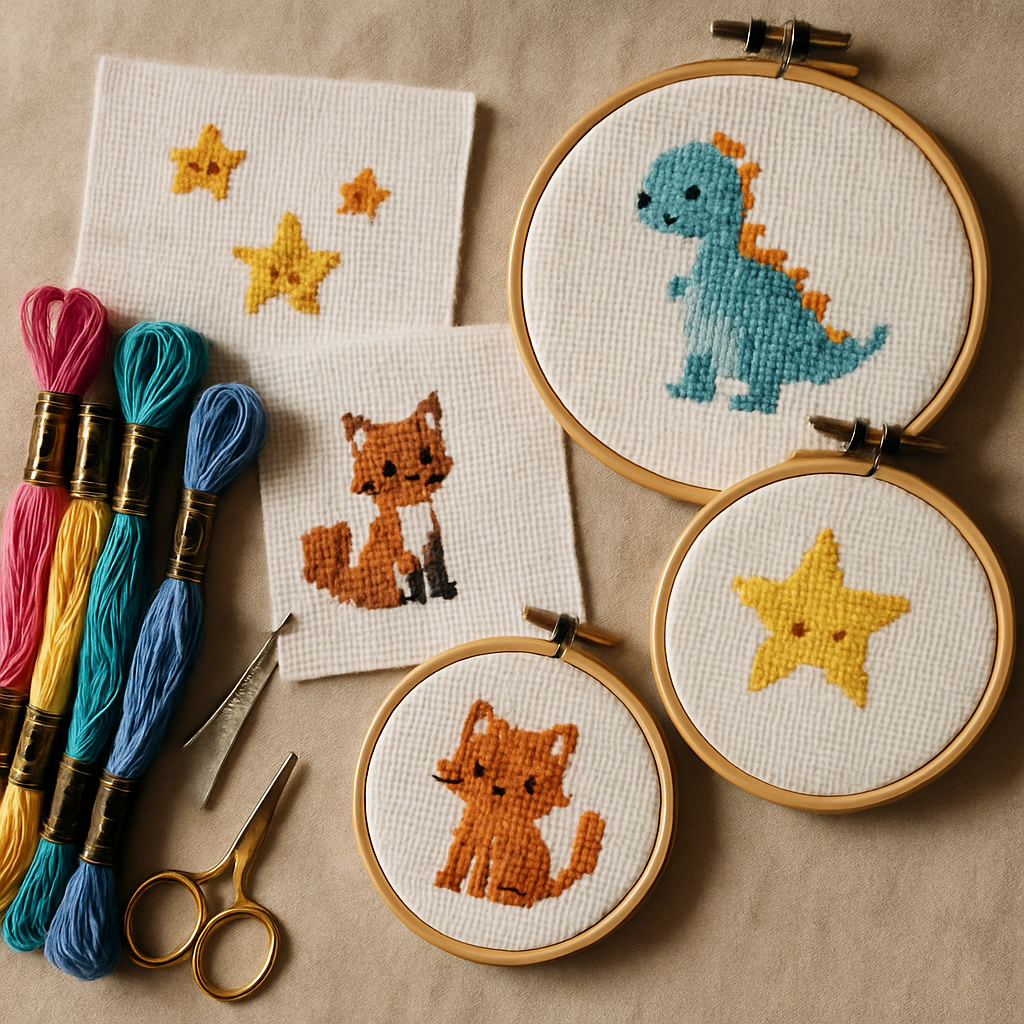
- A bold animal: a fish, a cat face, a ladybug, a dinosaur silhouette.
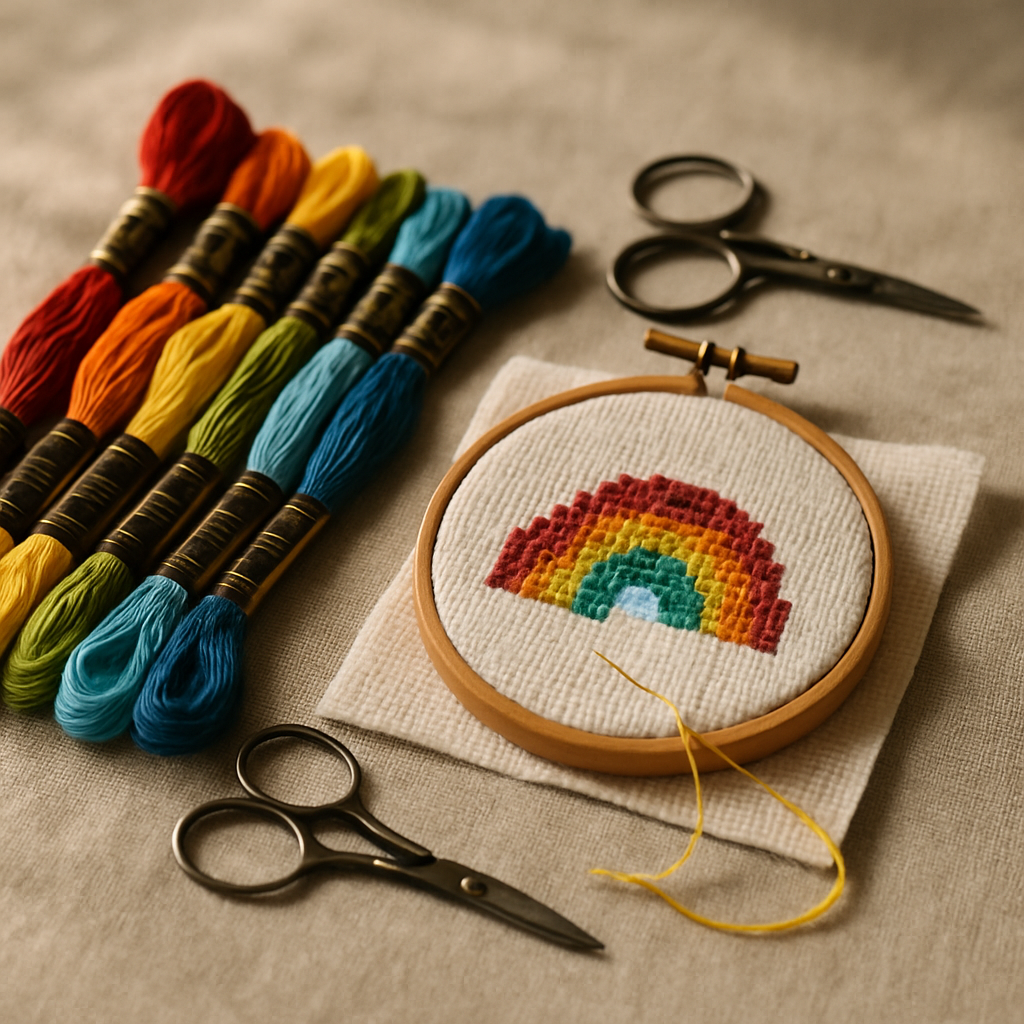
- A rainbow — a few rows, a few colors, very satisfying.
- Their name in big blocky letters with the text tool.
You'll find plenty of free starting points too — see our best free cross-stitch patterns roundup — but honestly, a pattern they designed will beat any free download for keeping them engaged.
Why StitchThis is great for stitching with kids: the freehand designer lets them draw their own pattern with simple, intuitive tools; the image-to-pattern engine turns their paper drawings into real charts; the advanced tools and quality presets keep it simple enough to finish; and a clean PDF prints the chart to stitch from. The whole "draw it, then stitch it" loop in one place. Start free →
Keeping it fun (and finished)
A few things that keep the experience positive:
- Let mistakes be okay. A miscounted stitch isn't a crisis. Cross stitch is forgiving, and so should you be.
- Celebrate the finish. Frame it, hang it, give it as a gift to a grandparent. The visible result is the whole reward.
- Keep sessions short. Stop while they're still enjoying it, not when they're frustrated. Better to come back eager than to push through tears.
Frequently asked questions
What age can a child start cross stitch? Many kids can start around 5–7 with plastic canvas or binca, a blunt needle, and supervision, moving to 11- or 14-count Aida around age 8. Follow the child's patience and motor skills rather than a strict age.
What makes a good cross-stitch pattern for kids? Few colors (3–8), big bold shapes, only full stitches, a short finish, and a low-count fabric with large holes. Avoid confetti and fine detail entirely.
Can my child design their own cross-stitch pattern? Yes — and they'll love it. StitchThis's freehand designer lets kids draw a pattern on a simple grid by placing stitches, filling areas, and adding shapes and their name, then stitch the exact design they made.
Can I turn my kid's drawing into a cross-stitch pattern? Absolutely. Photograph the drawing and StitchThis charts it into a real, stitchable pattern, keeping it faithful to their artwork. Use the simplify tools to keep the color count low and the project finishable.
What supplies does a child need to start? A blunt tapestry needle, low-count fabric (6/11-count Aida, plastic canvas, or binca), a small hoop, a few colors of floss in pre-cut lengths, and a simple chart with clear symbols.
Hand them the whole craft, not just the needle
The fastest way to make a child fall for cross stitch is to let them own it end to end — pick the design (or draw it themselves), choose the colors, and stitch the thing they invented. Keep it bold, keep it short, keep it fun, and lean on tools that let them participate in the whole process instead of just following orders.
Try StitchThis free and design a first pattern together today.
The full StitchThis workflow
Whatever you're making — a beginner piece, a memorial portrait, a gift, a pattern to sell — the StitchThis pipeline is the same handful of pieces working together, and each one is built around a friction that kills other tools.
- Photo-to-pattern conversion with StitchSense keeps the detail where the eye lands (faces, eyes, focal subjects) and simplifies what's behind it, so the finished piece looks like the subject rather than a confetti smear.
- Six floss brands in the legend — DMC, Anchor, Cosmo, Gamma, Madeira, Metro — so the pattern arrives in the brand you actually own.
- Floss stash tracker with CSV upload (from an existing spreadsheet) or photo upload (snap your skein organiser to import in seconds, no manual data entry).
- In-browser viewer that doubles as a chart editor — tap each stitch to track progress, paint or fill new stitches with the draw tools, change all instances of one colour to another, edit fractional stitches and backstitch.
- Freehand designer for drawing patterns from scratch or adding names, dates, and personal touches to a generated chart.
- Studio-tier FORGE batch generation for designers producing multiple variations from one source.
- Clean PDF export ready to print, share, or sell.
- The whole workflow in one place — pattern creation, floss tracking, the in-browser viewer with chart editor, and a community of stitchers cheering each other on.
Try StitchThis free — the workflow is built around the small frictions that kill other tools, so you can spend the time stitching instead of fighting your software.
Related reading on StitchThis:
Ready to turn your photo into a cross-stitch pattern?
Try StitchThis freeTwo patterns per month. No card required.