How to Make a Cross-Stitch Pattern from an Illustration
Turn a drawing or digital illustration into a faithful cross-stitch pattern. Why artwork converts differently than photos, how to tame edge confetti, and the rights to check first.

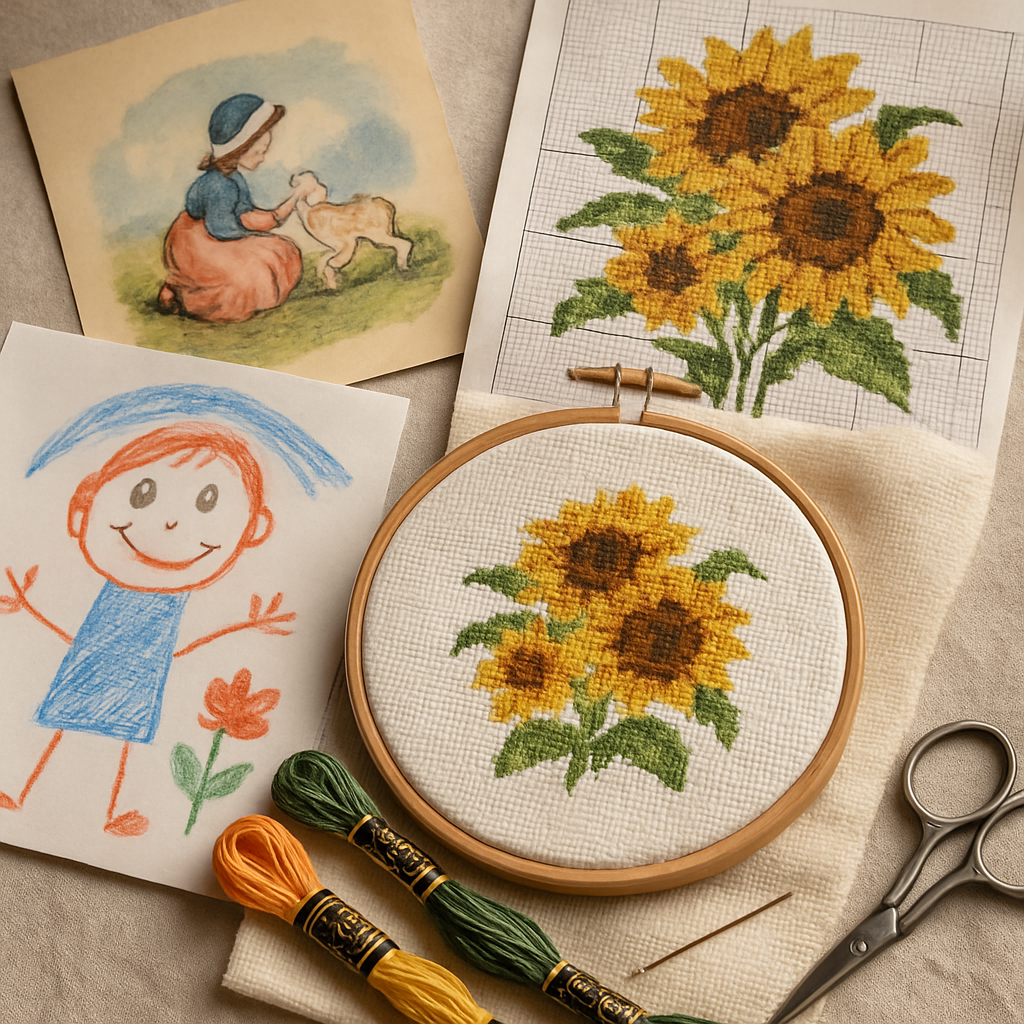
Photos get all the attention in the "turn it into a pattern" conversation, but illustrations are quietly the better raw material — and one of the most meaningful. A child's crayon drawing of the family. A digital illustration you commissioned for your wedding. Your own artwork sitting in a sketchbook. These convert beautifully into cross stitch, and the result feels different from a photo: bolder, more graphic, unmistakably designed.
Illustrations also behave differently than photographs when you chart them, in ways that work in your favor if you know what to expect — and trip you up if you don't. This guide covers what makes artwork convert well, the one technical gotcha nobody warns you about, the rights question you need to settle first, and the fastest way to get from a drawing to a stitchable chart. You can try StitchThis free and follow along with a piece of your own.
First, a quick word on rights
 Before anything else: only convert artwork you have the right to use. Your own drawings, your child's art, a piece you commissioned with the rights, or genuinely public-domain work — all fair game. A book illustration, a character from a show, an artist's print you found online, or clip art with restrictive terms are not, no matter how original your charting is. Making a pattern doesn't transform someone else's art into yours.
If you're charting to sell, this matters even more — our guide to pattern watermarking and licensing covers the source-rights side. Charting your own art sidesteps the whole question.
Why illustrations convert differently than photos
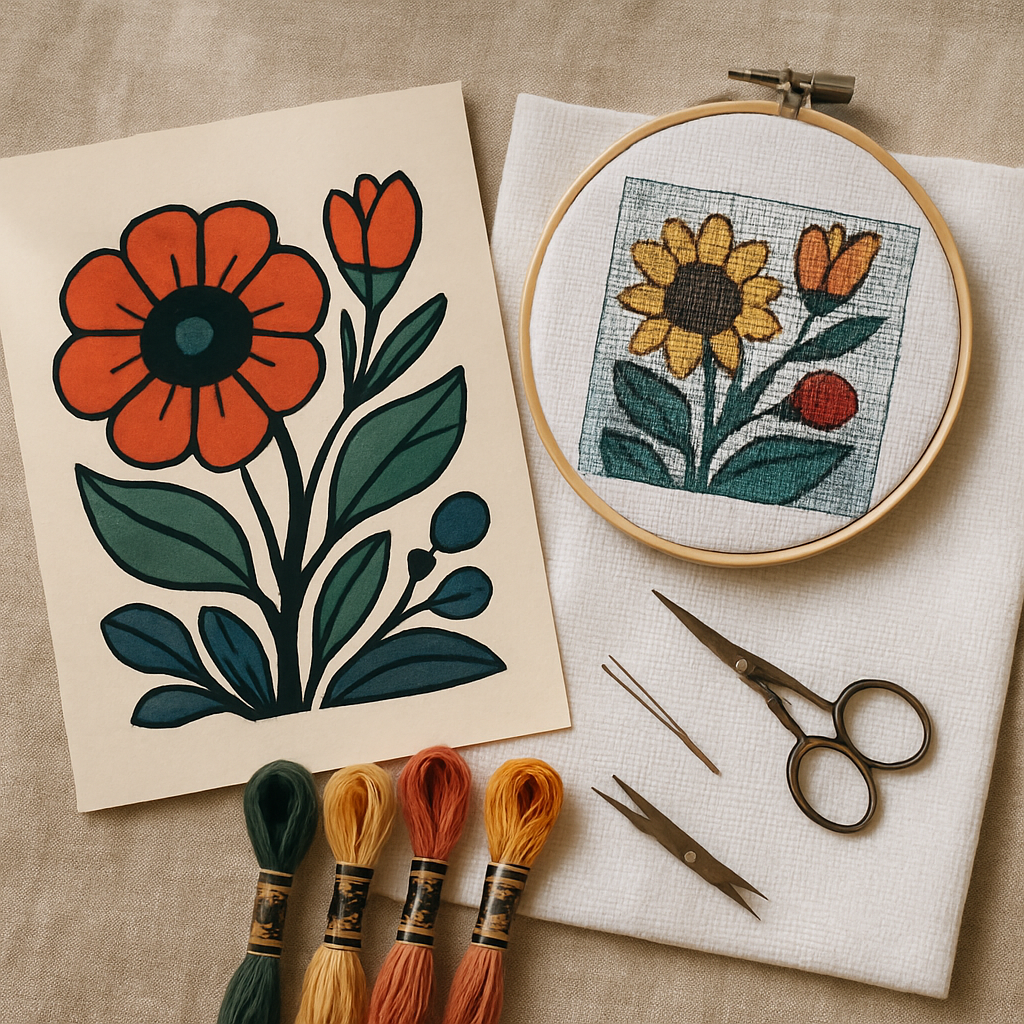
 A photograph is a chaos of subtle gradients — thousands of slightly different colors blending into each other, which is exactly what produces confetti. An illustration is usually the opposite: flatter colors, cleaner shapes, deliberate lines. That gives you two big advantages and one trap.
The advantages:
- Flat color areas chart cleanly. A solid block of color becomes a solid block of stitches — easy to follow, fast to stitch, low confetti.
- Bold shapes read well at stitch resolution. Illustrations are already simplified, so they survive the translation to a grid far better than a detailed photo does.
The trap — anti-aliased edges: Digital illustrations have softened, blended edges (anti-aliasing) where one color meets another. Zoom in and that crisp line is actually a gradient several pixels wide. Convert it carelessly and every clean edge sprouts a fringe of single stitches in in-between colors — confetti, in the one place you didn't expect it. The whole craft of charting an illustration is keeping the flat areas flat while cleaning up those edges.
What makes an illustration chart well
 Not all artwork is equally stitchable. The best candidates share a few traits:
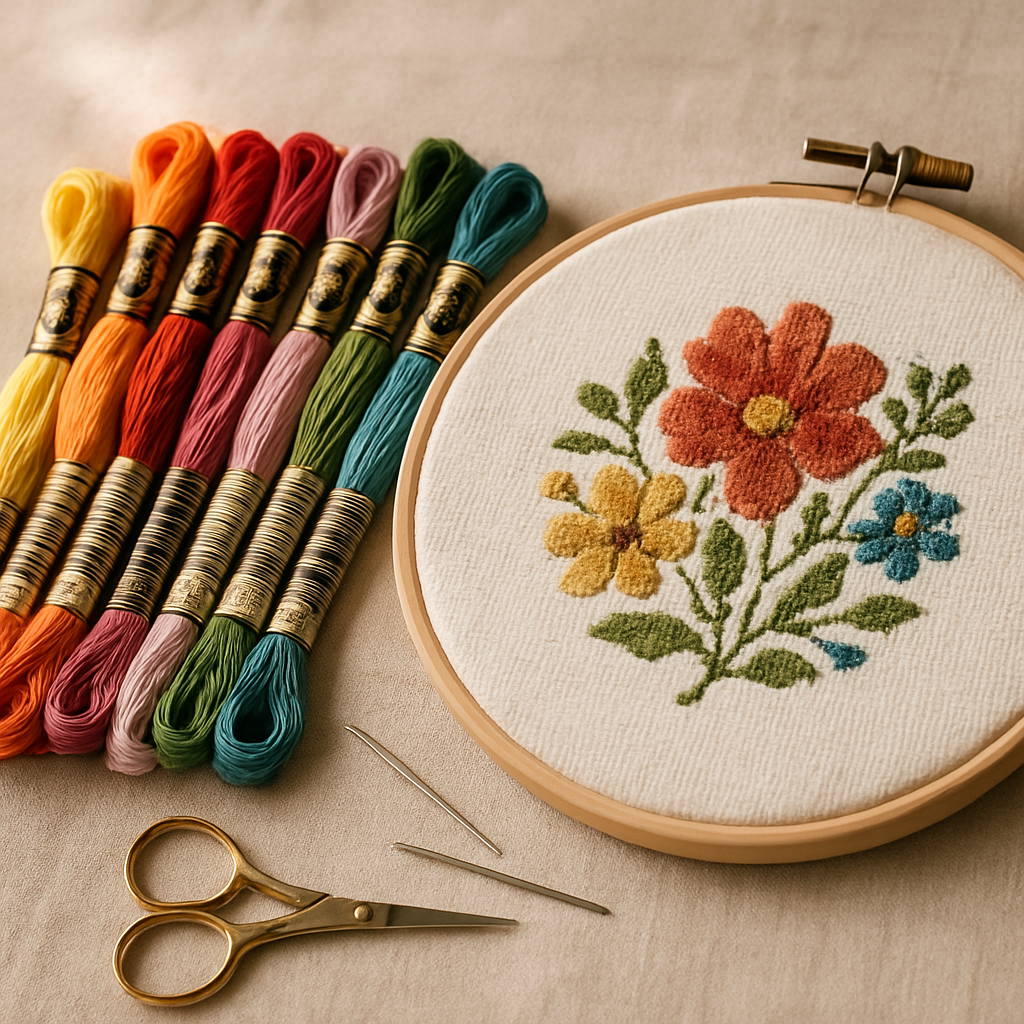
- A limited, distinct color palette. Bold, separable colors beat a hundred subtle shades.
- Clear shapes and outlines. Defined forms hold up; wispy, fine detail gets lost on a grid.
- Reasonable detail for the size. A simple, graphic illustration at a sensible stitch count reads cleanly; an intricate one needs to be stitched large to keep its detail.
A bright children's-book style, a flat vector illustration, a bold logo, or a kid's drawing are all near-ideal. A delicate watercolor with soft gradients is the hardest case — closer to a photo in behavior.
The StitchThis workflow for illustrations
Here's the path from artwork to a stitchable chart, and where each tool earns its place.
1. Upload and convert
Drop your illustration into StitchThis and the image-to-pattern engine charts it into a real, counted pattern — symbols mapped to specific floss colors. Because illustrations start cleaner than photos, you're often most of the way there immediately.
2. Simplify with the quality presets
For flat artwork, lean toward the Simplified or Balanced quality presets rather than Full Color. This consolidates those near-identical edge colors into your main palette, which is the single most effective move against anti-aliasing confetti. Full Color faithfully captures every blended pixel — exactly what you don't want from an illustration.
3. Use the style and background tools where they help
StitchThis's image tools work on your source illustration before it's charted (the pattern is then charted faithfully from it — never a fake "finished" render). A few that suit artwork:
- Background simplify or remove cleans up a busy or off-white background so the figure stands alone with crisp edges.
- The style options (painterly, icon, cartoon) can push a fussy or semi-realistic illustration toward a bolder, flatter look that charts more cleanly. For a child's drawing or an already-flat vector, you'll often skip these — the art is doing the work for you.
4. Clean up edges in the editor
This is where an illustration goes from "good" to "crisp." StitchThis's viewer doubles as a chart editor, so you can fix the edges by hand: use Draw to repaint a stray stitch, Fill to flood a region with one color, and Change All to replace every instance of an unwanted in-between color in one move. Five minutes here erases the anti-aliasing fringe and gives you the clean, graphic lines that make an illustration sing. (If confetti is fighting you, our confetti survival guide goes deeper.)
5. Match the palette to real floss
Illustrations often have specific, intentional colors. Chart against multi-brand palettes — DMC, Anchor, Cosmo, Gamma, Madeira, Metro — to match real, buyable thread, and keep the color count tight so the piece stays bold and fast to stitch. (More on choosing colors well in our forthcoming color palette selection guide.)
Why StitchThis fits illustration work: the image-to-pattern engine converts the art, quality presets flatten anti-aliasing confetti, the style and background tools bolden and clean the source, the in-viewer editor sharpens every edge by hand, and multi-brand palettes match real floss — then a clean PDF to stitch from. Start free →
Build it from scratch in the freehand designer
Sometimes the best "conversion" is to redraw the illustration as a pattern — especially for simple line art or logos, where you want total control. StitchThis's freehand designer lets you build a chart on a blank grid: place and color stitches directly, drop in shapes, and add lettering with the Text tool (a wide range of fonts, resizable and rotatable). It's the difference between auto-converting a complex piece and hand-crafting a clean one. For logo-style art specifically, our forthcoming logo pattern guide goes further, and you can see the freehand approach in action in our family tree patterns guide.
The child's-drawing keepsake
Of every illustration project, this is the one that makes people tear up. A four-year-old's drawing of the family, stitched and framed, is a keepsake that beats any photo — it captures how they saw the world at that age, wobbly proportions and all. A few tips:
- Keep it faithful, wobbles included. The charm is in the imperfection. Don't "fix" the drawing — chart it as it is.
- Bold crayon and marker work best. Strong, flat color converts cleanly; faint pencil is harder.
- Stitch it at a comfortable size. A child's drawing doesn't need fine detail, so a lower fabric count keeps it fast and friendly — see our Aida 14 vs 16 vs 18 guide. (For more kid-friendly projects — including letting kids design their own — see our cross-stitch patterns for children guide.)
Frequently asked questions
Can you turn a drawing into a cross-stitch pattern? Yes, and drawings often convert better than photos because their flat colors and bold shapes chart cleanly. Upload the artwork, simplify the palette, and clean up the edges for a crisp result.
Why does my illustration have confetti even though it's flat? Anti-aliasing — the softened, blended edges where colors meet in a digital image. Use a Simplified/Balanced quality preset to consolidate those edge colors, then tidy any strays with the editor's Fill and Change All tools.
Can I make a cross-stitch pattern from my child's drawing? Absolutely — it's one of the most loved keepsake projects. Chart it faithfully (keep the wobbles), use bold crayon or marker art for the cleanest result, and stitch it at a comfortable size.
Can I sell patterns made from illustrations? Only if you own or are licensed to use the source art. A pattern made from someone else's illustration generally can't be sold, even if your charting is original. Charting your own artwork avoids the issue.
Is it better to convert or redraw an illustration? For complex art, convert and clean up. For simple line art or logos, redrawing it from scratch in the freehand designer gives you the cleanest, most controlled result.
Turn the art into thread
An illustration already did the hard work of simplifying the world into bold shapes and clear color — which is exactly what cross stitch wants. Convert it, flatten the edge confetti, sharpen the lines, and match the floss, and you've got a pattern with a graphic punch a photo can't match. Whether it's your own art or a drawing from a small hand you love, it deserves to be stitched.
Try StitchThis free and turn your illustration into a pattern today.
How StitchThis converts your photo into a faithful pattern
Photo-to-pattern conversion is exactly where most tools fall down — they treat every pixel the same, scatter the detail evenly across the image, and the result is a chart that looks correct in thumbnail and unrecognisable on the fabric. StitchThis is built around the opposite principle: StitchSense preserves detail where the eye reads expression (faces, eyes, focal subjects) and simplifies the areas where the eye doesn't notice. Confetti drops dramatically, the focal subject stays recognisable, and the chart respects what stitching can actually render on your fabric count.
The same generator hands you the rest of the project at once. The legend renders in any of six floss brands — DMC, Anchor, Cosmo, Gamma, Madeira, Metro — so the pattern arrives in the brand you actually own. The floss stash tracker can be imported via CSV from an existing spreadsheet or by photographing your skein organiser, and the pattern then filters its shopping list against what's in your floss drawer. The in-browser viewer doubles as a chart editor — paint, fill, change-all colour replacement, half-stitch and backstitch tools — so you can fine-tune cells around the eyes or other focal areas before you commit a single stitch. Studio-tier users add FORGE batch generation for several variations from the same source image. Everything exports to a clean PDF when you're done. The whole workflow lives in StitchThis — build the pattern, manage your floss stash, view and track and edit the chart in the browser, and stitch alongside a community of other cross-stitchers.
Try StitchThis free — upload a photo, pick a brand, see your pattern in a few minutes.
Related reading on StitchThis:
Ready to turn your photo into a cross-stitch pattern?
Try StitchThis freeTwo patterns per month. No card required.